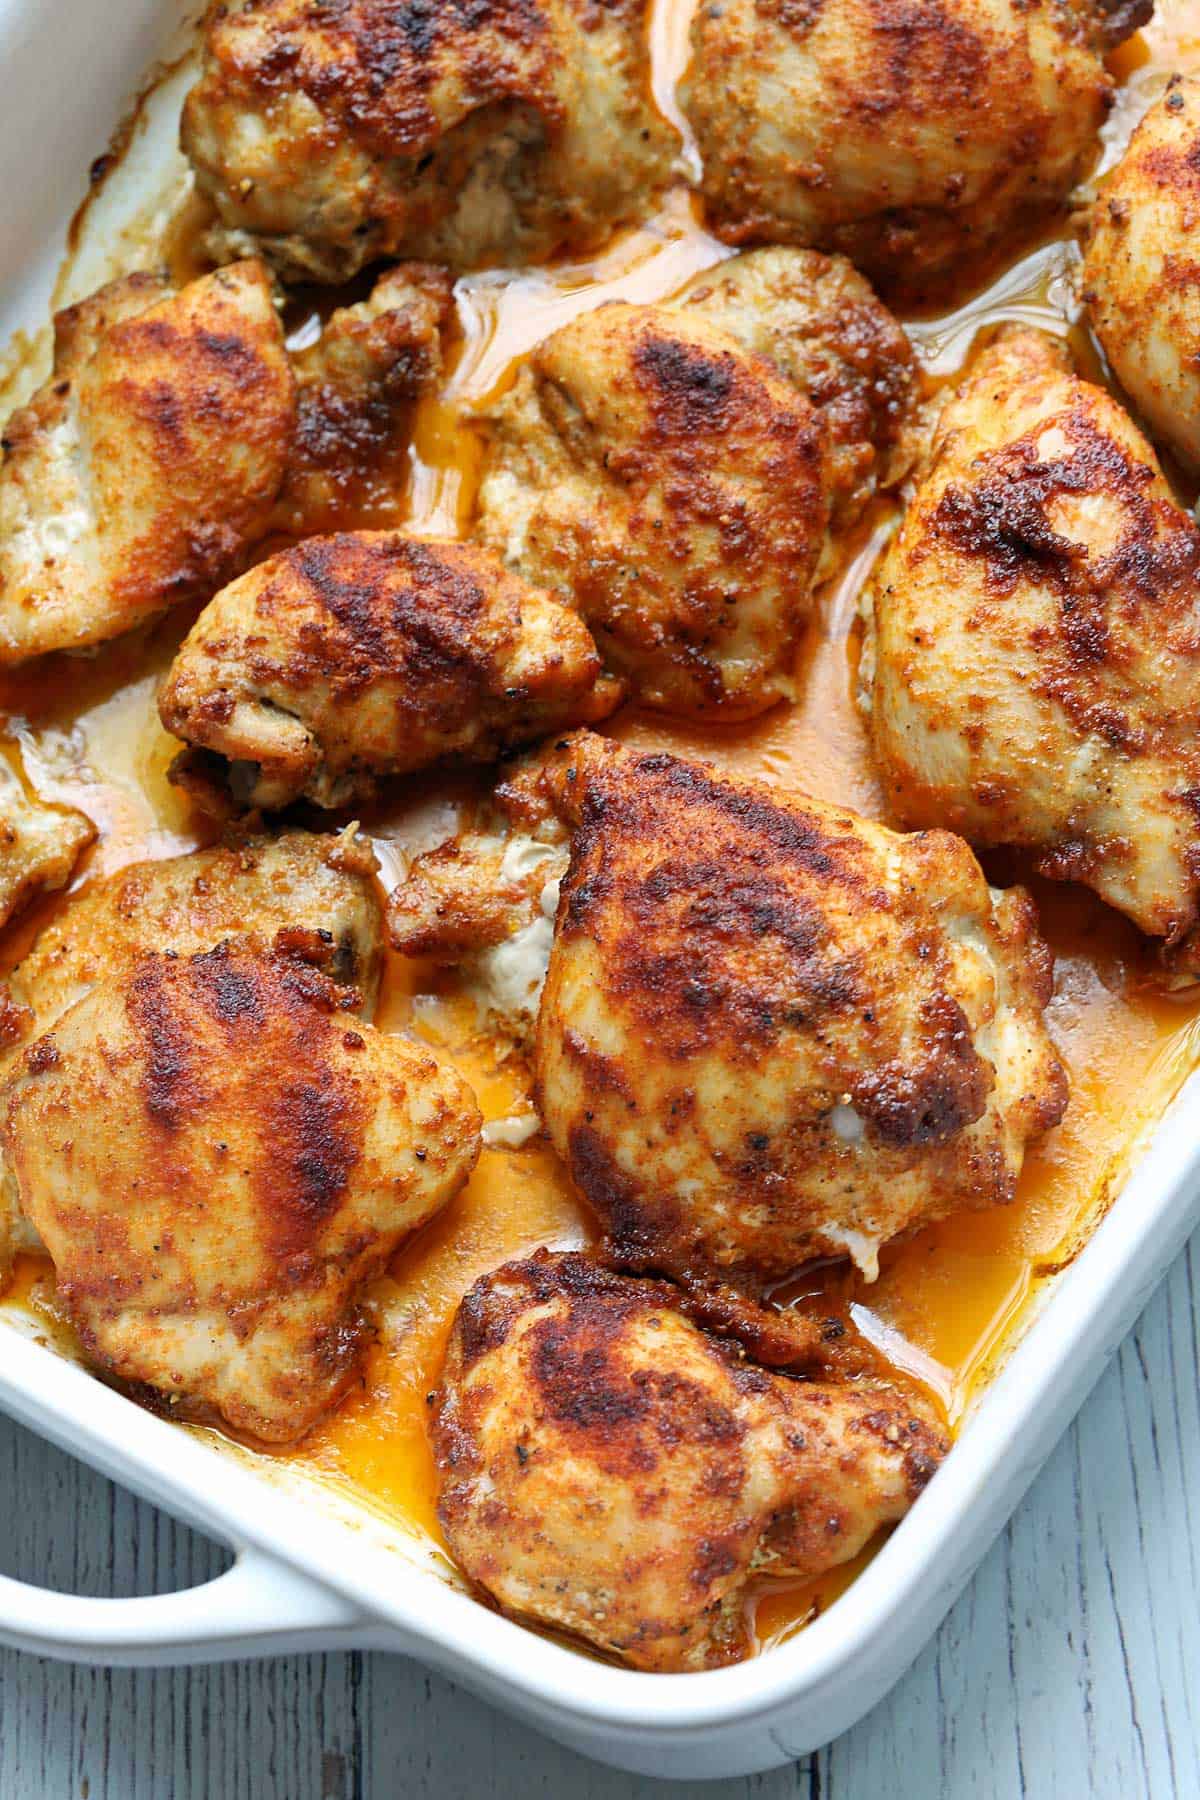
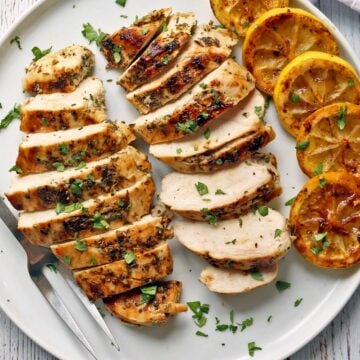
This is my go-to recipe for boneless chicken thighs. It's incredibly easy, making it perfect for weeknight dinners. Simply apply olive oil and spices to the thighs and bake them for 30 minutes. It's as easy as can be and so delicious.
Chicken is easy and affordable, so I make it often for my family, and this recipe is one of my favorites. It has a winning combination of a truly easy recipe that's also delicious. The prep time is 10 minutes and the bake time is 30 minutes, so it's a quick recipe, too. Even the leftovers are good, although I prefer to enjoy them cold rather than risk drying the chicken when reheating it.
Ingredients and Variations
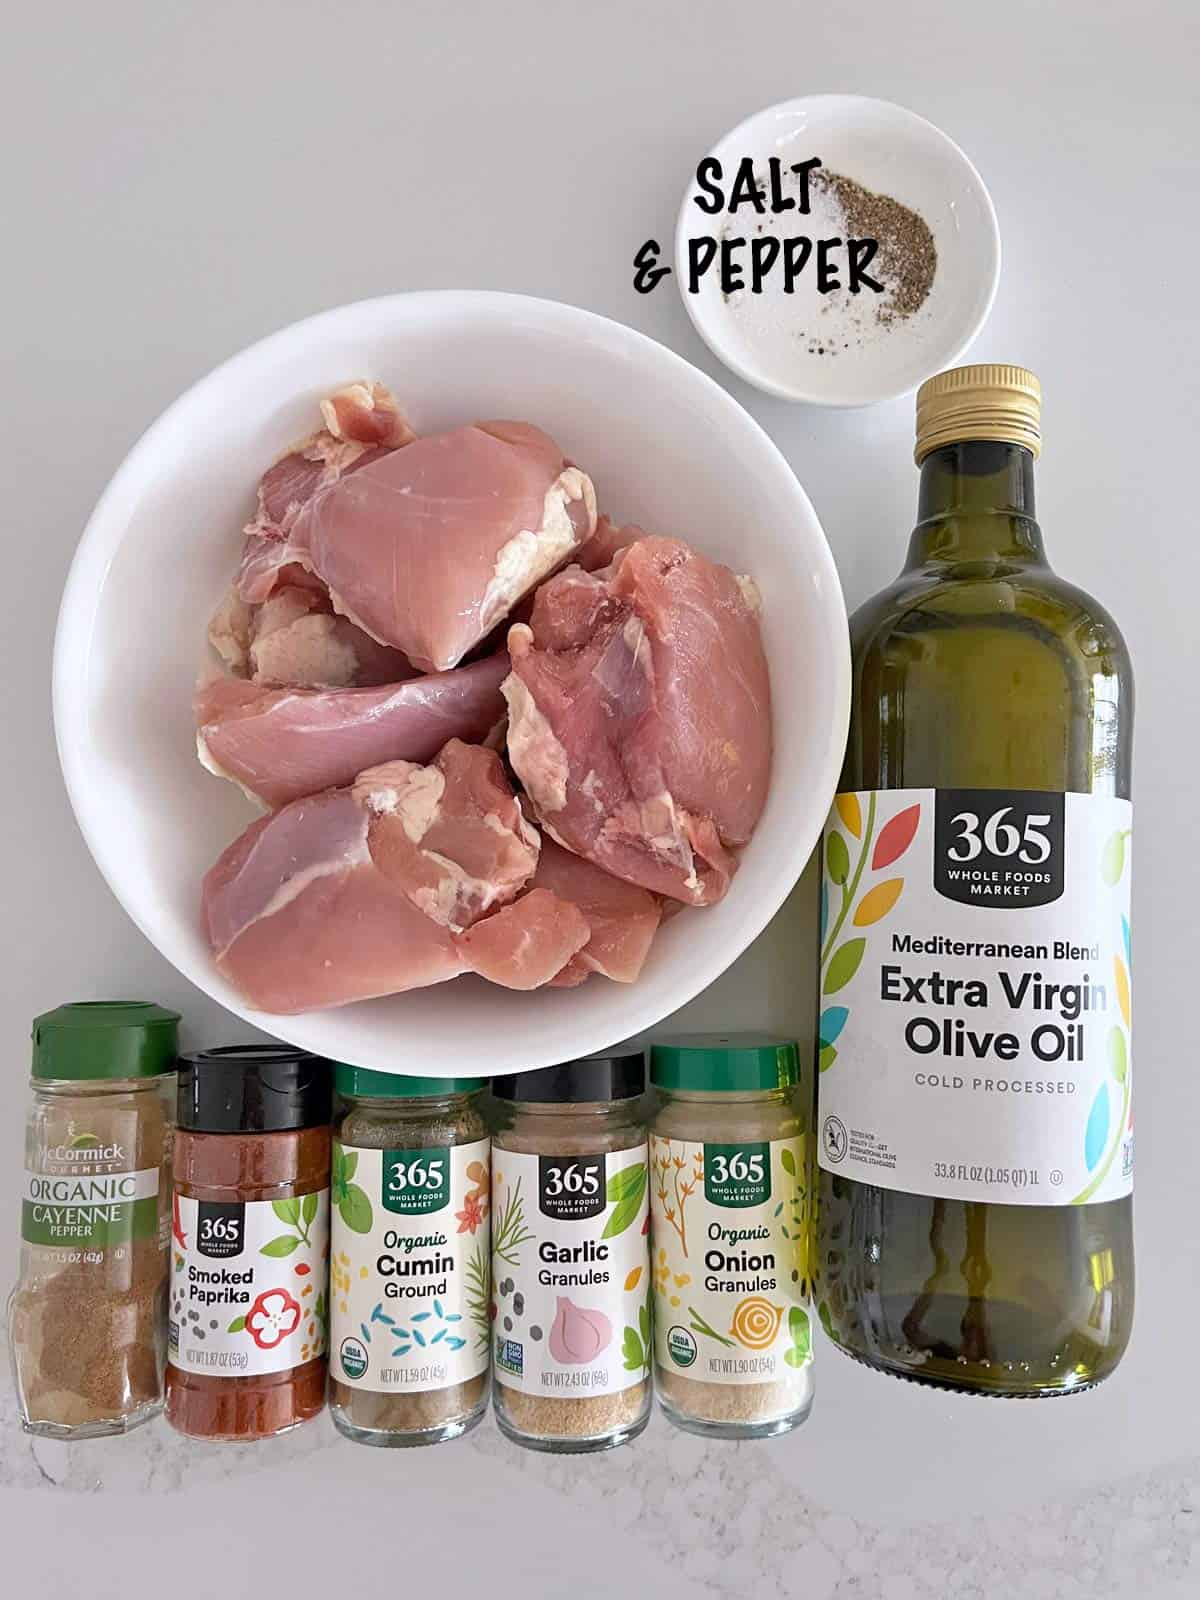
See the recipe card for exact measurements. Here are my comments on some of the ingredients.
- Fresh chicken: I use boneless skinless chicken thighs. It's one of my favorite chicken parts because it's cheap, readily available, easy to cook and eat, and wonderfully juicy!
- Olive oil: You can use melted butter or ghee instead of olive oil. Melted butter is especially good. You can use salted or unsalted butter - I tried both, and both work equally well. The drawback to butter is that it can solidify on cold chicken pieces.
- Seasonings: I use quite a few spices and recommend using them all. They add wonderful flavor! I use kosher salt, black pepper, garlic powder, onion powder, smoked paprika, cumin, and cayenne pepper.
Instructions
Oven-baking is my favorite way of preparing chicken thighs. It's easy, but you don't sacrifice any flavor. The detailed instructions and step-by-step photos are included in the recipe card. Here's a quick overview.
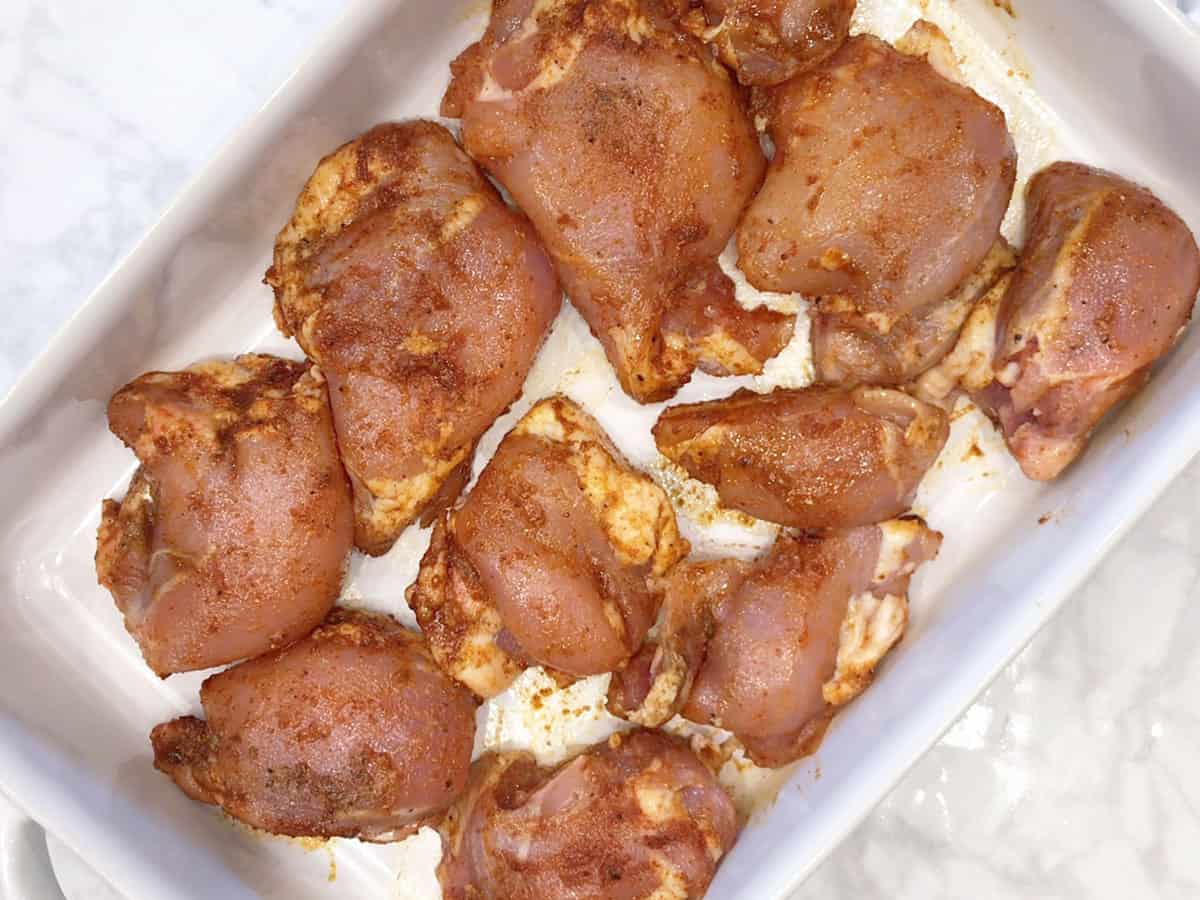
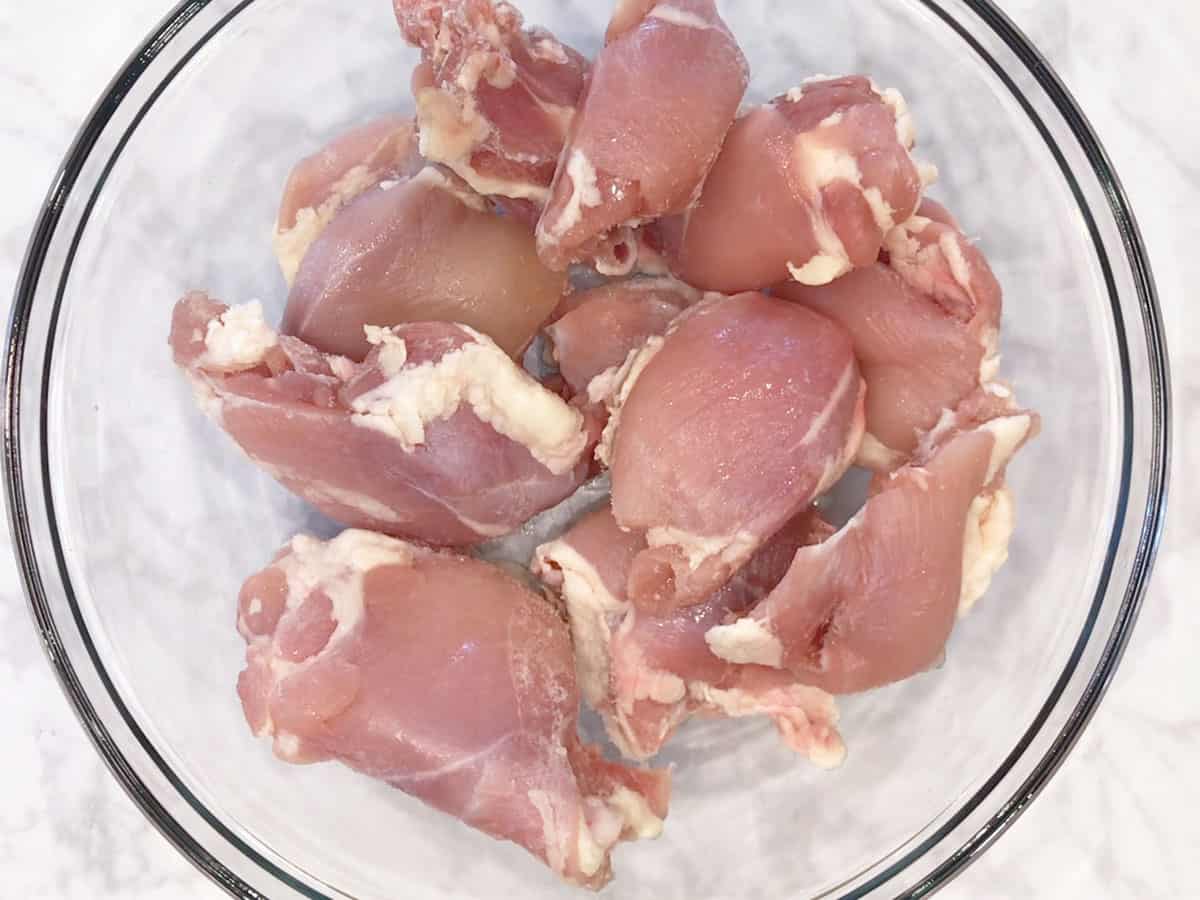
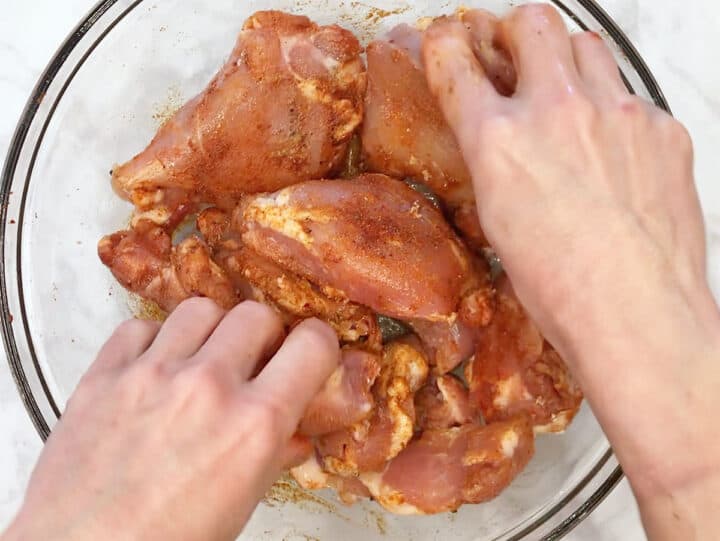
Place the chicken thighs in a large bowl and add olive oil and spices. I use my hands to make sure they are well-coated.

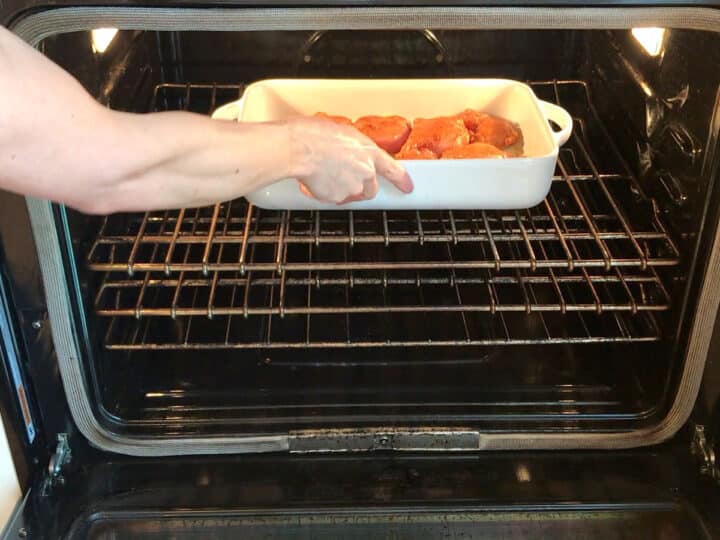
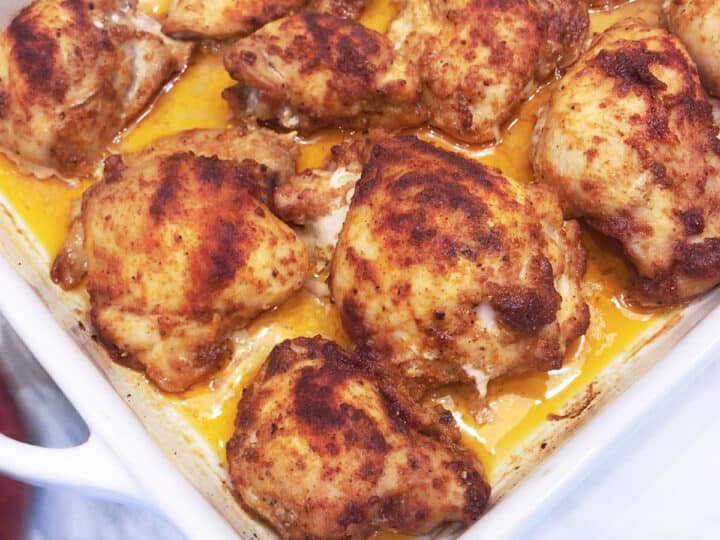
Arrange the chicken in a rimmed baking dish. A 9x13-inch pan works well. Bake the chicken in a 400°F oven until cooked through, about 30 minutes. Serve immediately.

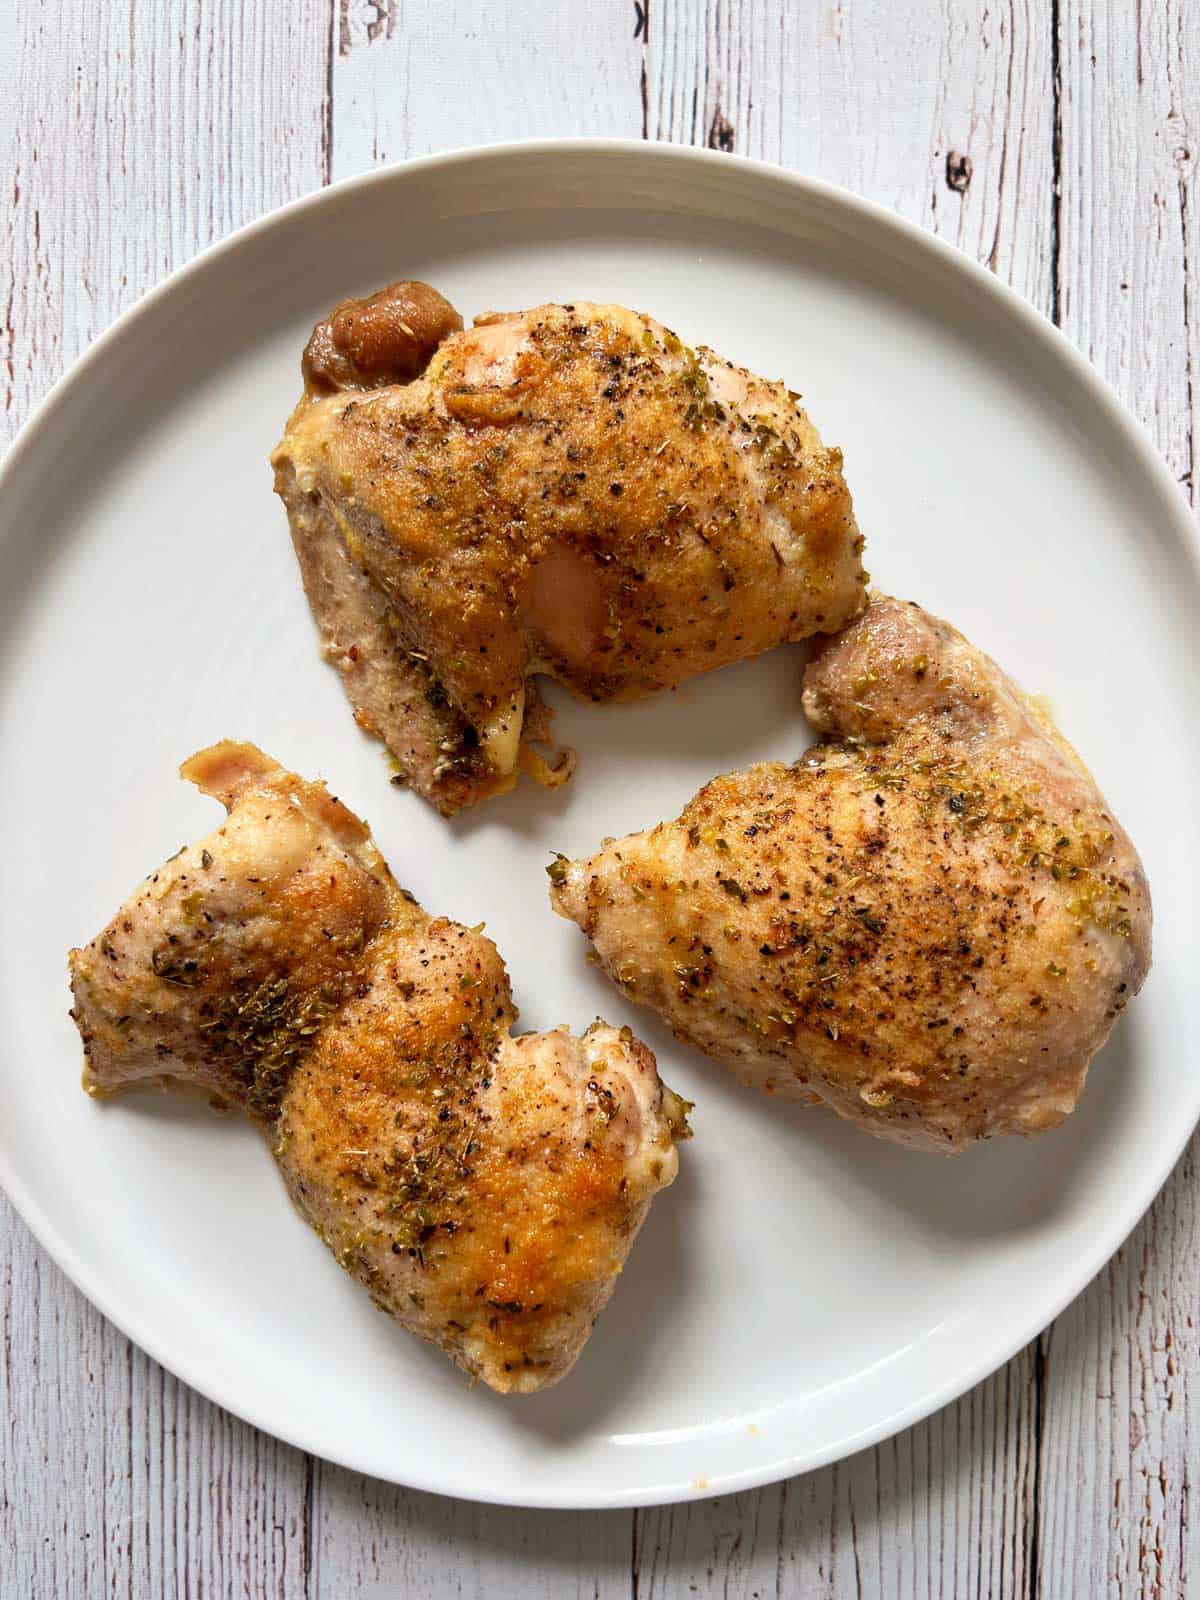
Italian Seasoning Variation
Sometimes, when I'm feeling lazy, I spray the thighs with olive oil and sprinkle them with a teaspoon of kosher salt and a tablespoon of Italian seasoning. While not as good as the original recipe, they are very flavorful, and it's a fun variation my family enjoys. Here's a photo that shows what this version looks like:
My family loved it! I made it again for a potluck, and it was a hit. So easy and quick. I'm so glad you mentioned not needing to trim the fat - that saves time and is my least favorite part of cooking thighs.
Heidi
Read more comments
Recipe Tips
Bake Different Sizes Together
If you buy them in pre-packaged trays at the supermarket, boneless chicken thighs come in different sizes, as shown in the photo below. It's OK to bake them all together until the biggest ones are cooked through. The small ones will still be juicy and delicious!
Trimming the Fat
You can trim the fat, but I don't, as shown in the photo below. Most of it melts away during baking, and what remains is delicious - fat adds flavor to food. The fat also helps protect the chicken from drying out in the oven, keeping it juicy.
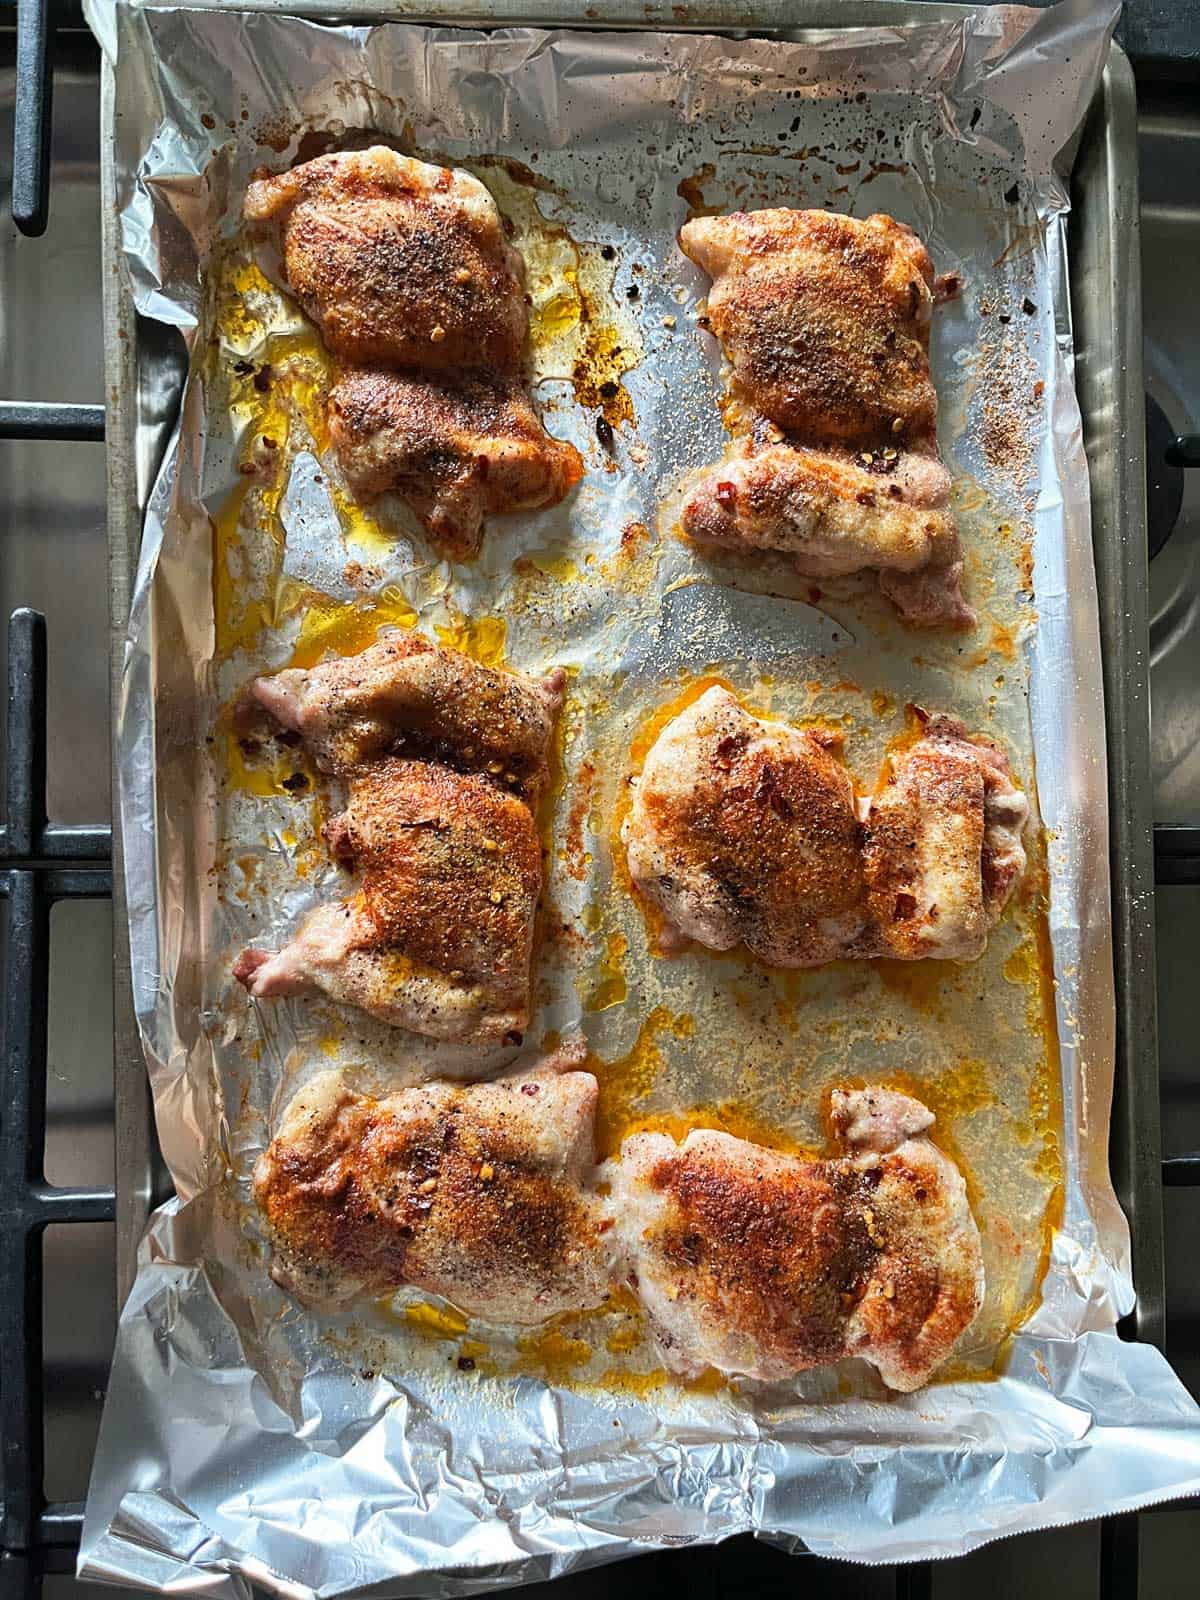
Using a Sheet Pan
I typically use a 9x13-inch ceramic baking sheet. I experimented with baking the thighs on a sheet pan, as shown in the photo below. The result was very good, and the thighs turned out nicely browned and flavorful, but I think a baking dish is better at keeping them juicy.
Serving Suggestions
Since I bake the chicken in a 400°F oven, I like to serve it with a side dish I can cook in the same oven. So, I often serve it with any of the following:
- Baked shiitake mushrooms
- Zucchini casserole
- Broccoli tots
- Jicama fries
- Roasted asparagus
- Roasted carrots
- Roasted cabbage
- Mini peppers
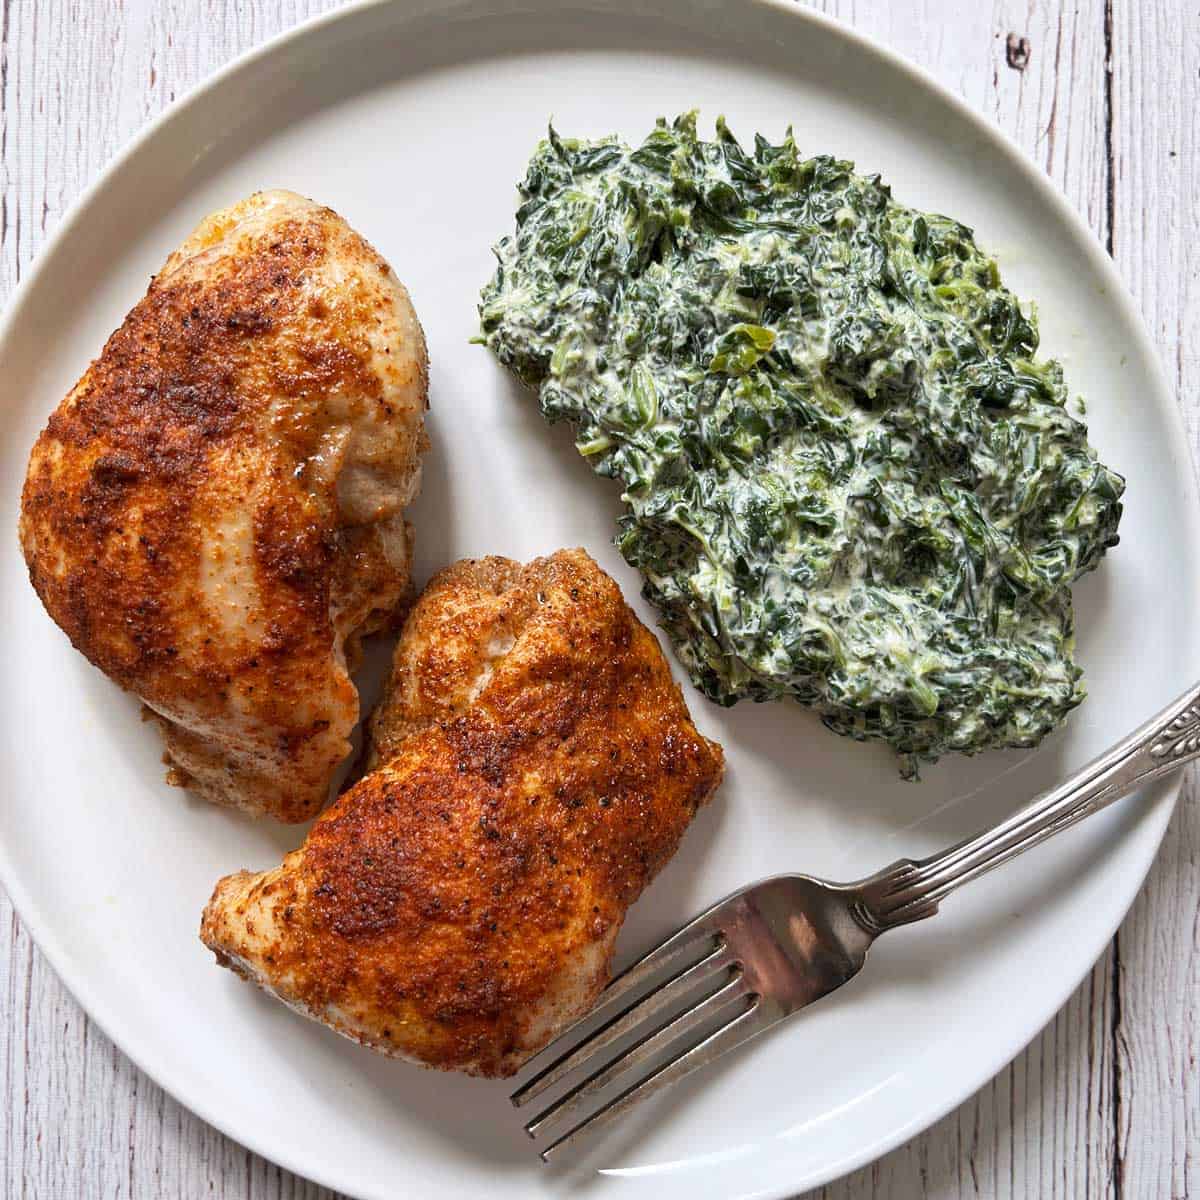
It also pairs well with easy stovetop side dishes like creamed spinach (shown in the photo below), zucchini noodles, and sautéed mushrooms.
Storing and Using the Leftovers
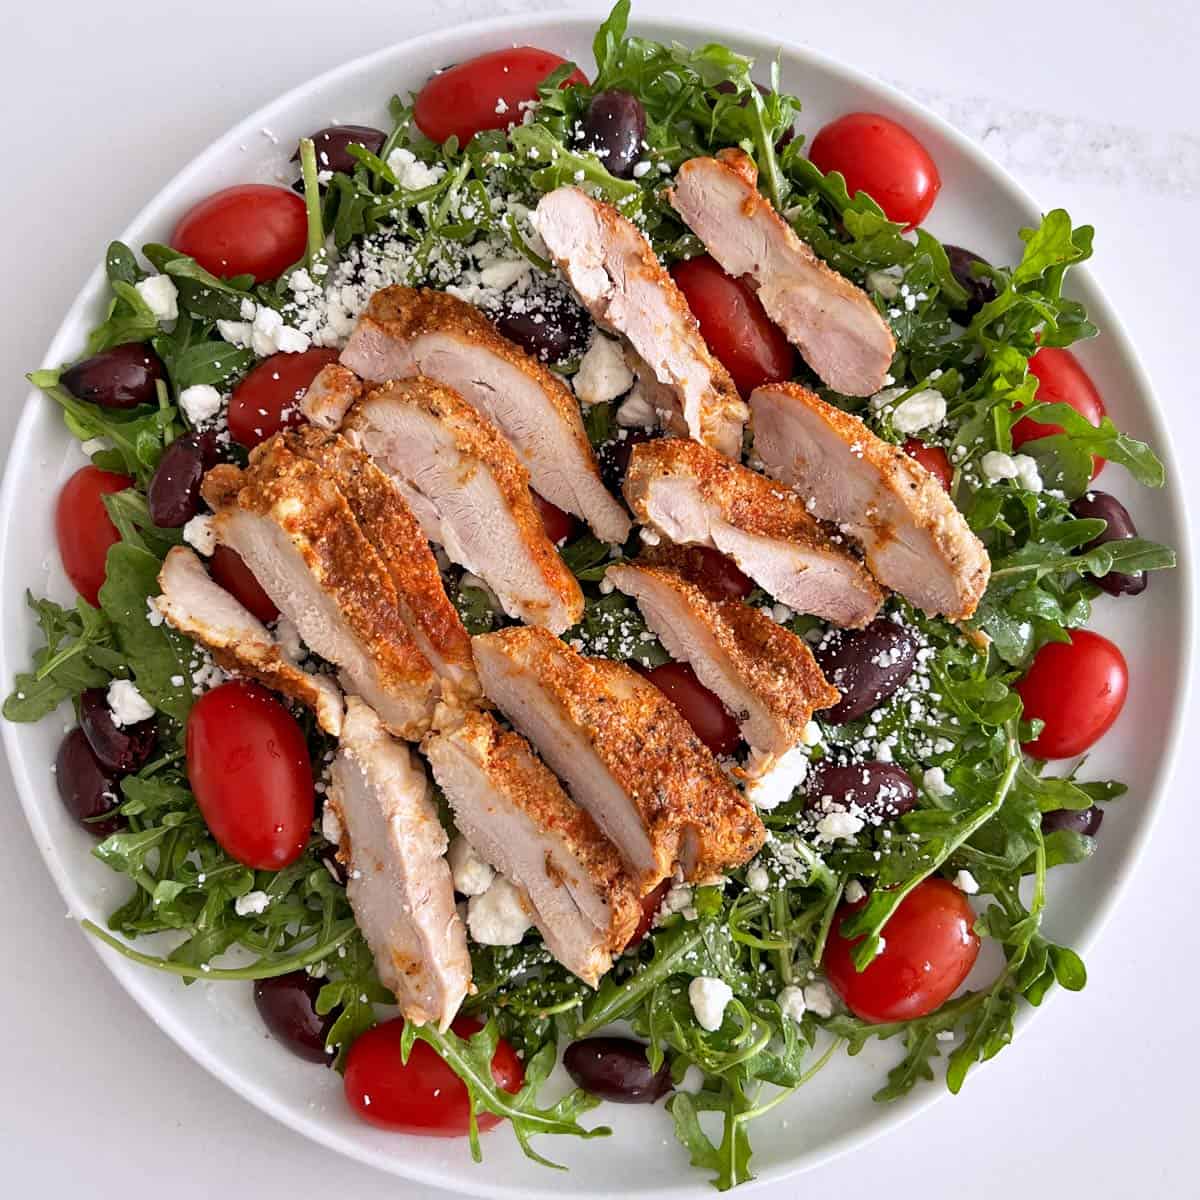
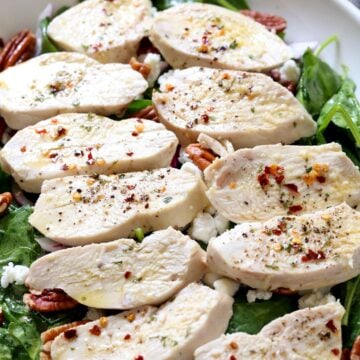
You can keep the leftovers in an airtight container in the fridge for 3-4 days. I usually shred or slice them and add them cold to a salad, as shown in the photo below. They go well with arugula salad, spinach salad, and Cobb salad.
If you'd like to reheat them, it's best to do so gently, in the microwave, covered, at 50% power. You can also reheat them in a 350°F oven until heated through. Be gentle - the chicken will dry out if you reheat the leftovers too aggressively, especially in the microwave.
You can also freeze the cooled leftovers in a freezer-safe container for up to three months. Thaw them overnight in the fridge before reheating.
Recipe Card

Baked Boneless Chicken Thighs
Video
Ingredients
- 2 pounds boneless skinless chicken thighs
- 2 tablespoons olive oil
- 1 teaspoon Diamond Crystal kosher salt - or ½ teaspoon of any other salt, including Morton kosher salt
- ¼ teaspoon black pepper
- 1 teaspoon garlic powder
- 1 teaspoon onion powder
- 1 teaspoon smoked paprika - not regular paprika
- ½ teaspoon ground cumin
- ¼ teaspoon cayenne pepper
Instructions
- Preheat the oven to 400°F. Place the chicken thighs in a large bowl.

- Add the olive oil and spices. Use your hands to coat the chicken.
- Arrange the seasoned thighs in a single layer on a rimmed baking dish, such as a 9 X 13-inch baking dish. If there's some residual oil and spice mixture in the bowl, brush it on the chicken pieces.

- Bake uncovered until the thighs are cooked through, juices run clear, and an instant-read thermometer inserted into the middle of the largest thigh reads 165ºF. In my oven, this takes about 30 minutes.
- Serve immediately.
Notes
- If you buy them in pre-packaged trays at the supermarket, boneless, skinless chicken thighs come in various sizes. It's OK to bake them all together until the biggest ones are cooked through. The small ones will still be juicy and delicious!
- You can trim the fat, but I don't. Most of it melts away during baking, and what remains is delicious. The fat also helps protect the chicken from drying out in the oven.
- The smoked paprika is an important ingredient that adds great flavor. Please don't skip it.
- You can keep the leftovers in an airtight container in the fridge for 3-4 days. I usually shred them and add them, cold, to a salad. If you'd like to reheat them, it's best to do so gently, in the microwave, covered, at 50% power. You can also reheat them in a 350°F oven until heated through. Be gentle - the chicken will dry out if you reheat the leftovers too aggressively, especially in the microwave.
- Once cool, the leftovers can be frozen in a freezer-safe container for up to three months. Thaw them overnight in the fridge before reheating.
Nutrition per Serving
Save this Recipe!
We will also add you to our weekly newsletter. Unsubscribe anytime. See healthyrecipesblogs.com/privacy/ to learn how we use your email.
Disclaimers
Most recipes are low-carb and gluten-free, but some are not. Recommended and linked products are not guaranteed to be gluten-free. Nutrition info is approximate. Please verify it independently. The carb count excludes non-nutritive sweeteners. Please read these Terms of Use before using any of my recipes.

Amy says
The seasoning was a bit overpowered for our taste. Next time, I'll cut down. But, we'll try it again.
Vered DeLeeuw says
Thanks for the feedback, Amy!
David says
if I'm using 4lbs of chicken instead of 2 do I double the oil and spices?
Vered DeLeeuw says
Hi David,
Yes. But if you use any salt other than Diamond Crystal, even a different brand of kosher salt, keep the salt at 1 teaspoon.
Dawn says
SO FLAVORFUL! The spices are the perfect savory blend of depth and kick!
Vered DeLeeuw says
Thank you for the comment, Dawn! I'm so glad you enjoyed this recipe.
Suzette says
So moist and delicious and SO easy! Thank you for this yummy recipe!!
Vered DeLeeuw says
You're very welcome, Suzette! Glad you liked it.
Tatiana says
HI! going to make this for dinner. My toddler is sensitive to spiciness. Do you think it would still work if I left out the cayenne?
Vered DeLeeuw says
Hi Tatiana,
Yes! It will work.
Tatiana says
Thank you! It was delicious. Definitely saving this recipe for quick dinners on weeknights that everyone will eat.
Vered DeLeeuw says
Yay! I'm so glad this was a success, Tatiana!
Nora says
Tried this dish because of the 5-star rating and because I happened to have all the ingredients on hand. It turned out great! Moist, tender, and very tasty. I broiled it for 1-2 minutes at the end for a crisp finish. Very simple and easy...no oil splatters from frying and easy cleanup, not to mention it only took about 30 minutes in the oven. I served it with steamed corn on the cobb and creamed spinach. Highly recommend this chicken recipe for a quick and healthy main entree.
I plan on making this again so will probably put together the dry ingredients and keep that in a jar for future use. I would imagine it would do be nice with pork as well. It's a keeper.
Vered DeLeeuw says
I'm so glad you enjoyed this recipe, Nora! Thank you for taking the time to write a detailed comment. I appreciate it.
Amanda says
So easy and so flavorful! The chicken stayed juicy and was a hit with the family.
Vered DeLeeuw says
Yay! I'm so glad your family enjoyed this recipe, Amanda!
Nina Sorentino-Messina says
Delicious and convenient. This is a keeper in my home! Thank you for sharing.
Vered DeLeeuw says
You're very welcome, Nina! Glad you liked it.
Sandy says
Can you marinate them for a few hours before cooking?
Vered DeLeeuw says
Hi Sandy,
Yes, absolutely. Sometimes, I coat them in the olive oil and spices in the morning, arrange them in the baking dish, cover, and refrigerate until dinnertime, when I bake them. If using a glass or ceramic baking dish, remember to remove it from the fridge 30 minutes before you put it in the hot oven.
Gary LaBelle says
Can this be made with regular thicken thighs? what adjustments would need to be made?? Thank you!
Vered DeLeeuw says
Hi Gary,
For bone-in, skin-on chicken thighs, I recommend this recipe:
https://promoedge.info/baked-chicken-thighs/%3C/a%3E%3C/p%3E
Laura says
These are really really good. I prepare these exactly as the recipe indicates so I have delicious protein for my lunches all week.
Vered DeLeeuw says
I'm so glad you've been enjoying this recipe, Laura! Thank you for the comment.