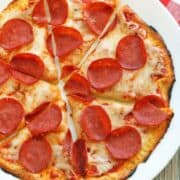
This coconut flour pizza crust is one of the best gluten-free and keto crusts I’ve ever tried. It’s soft, delicious, and sturdy enough to hold with your hands.
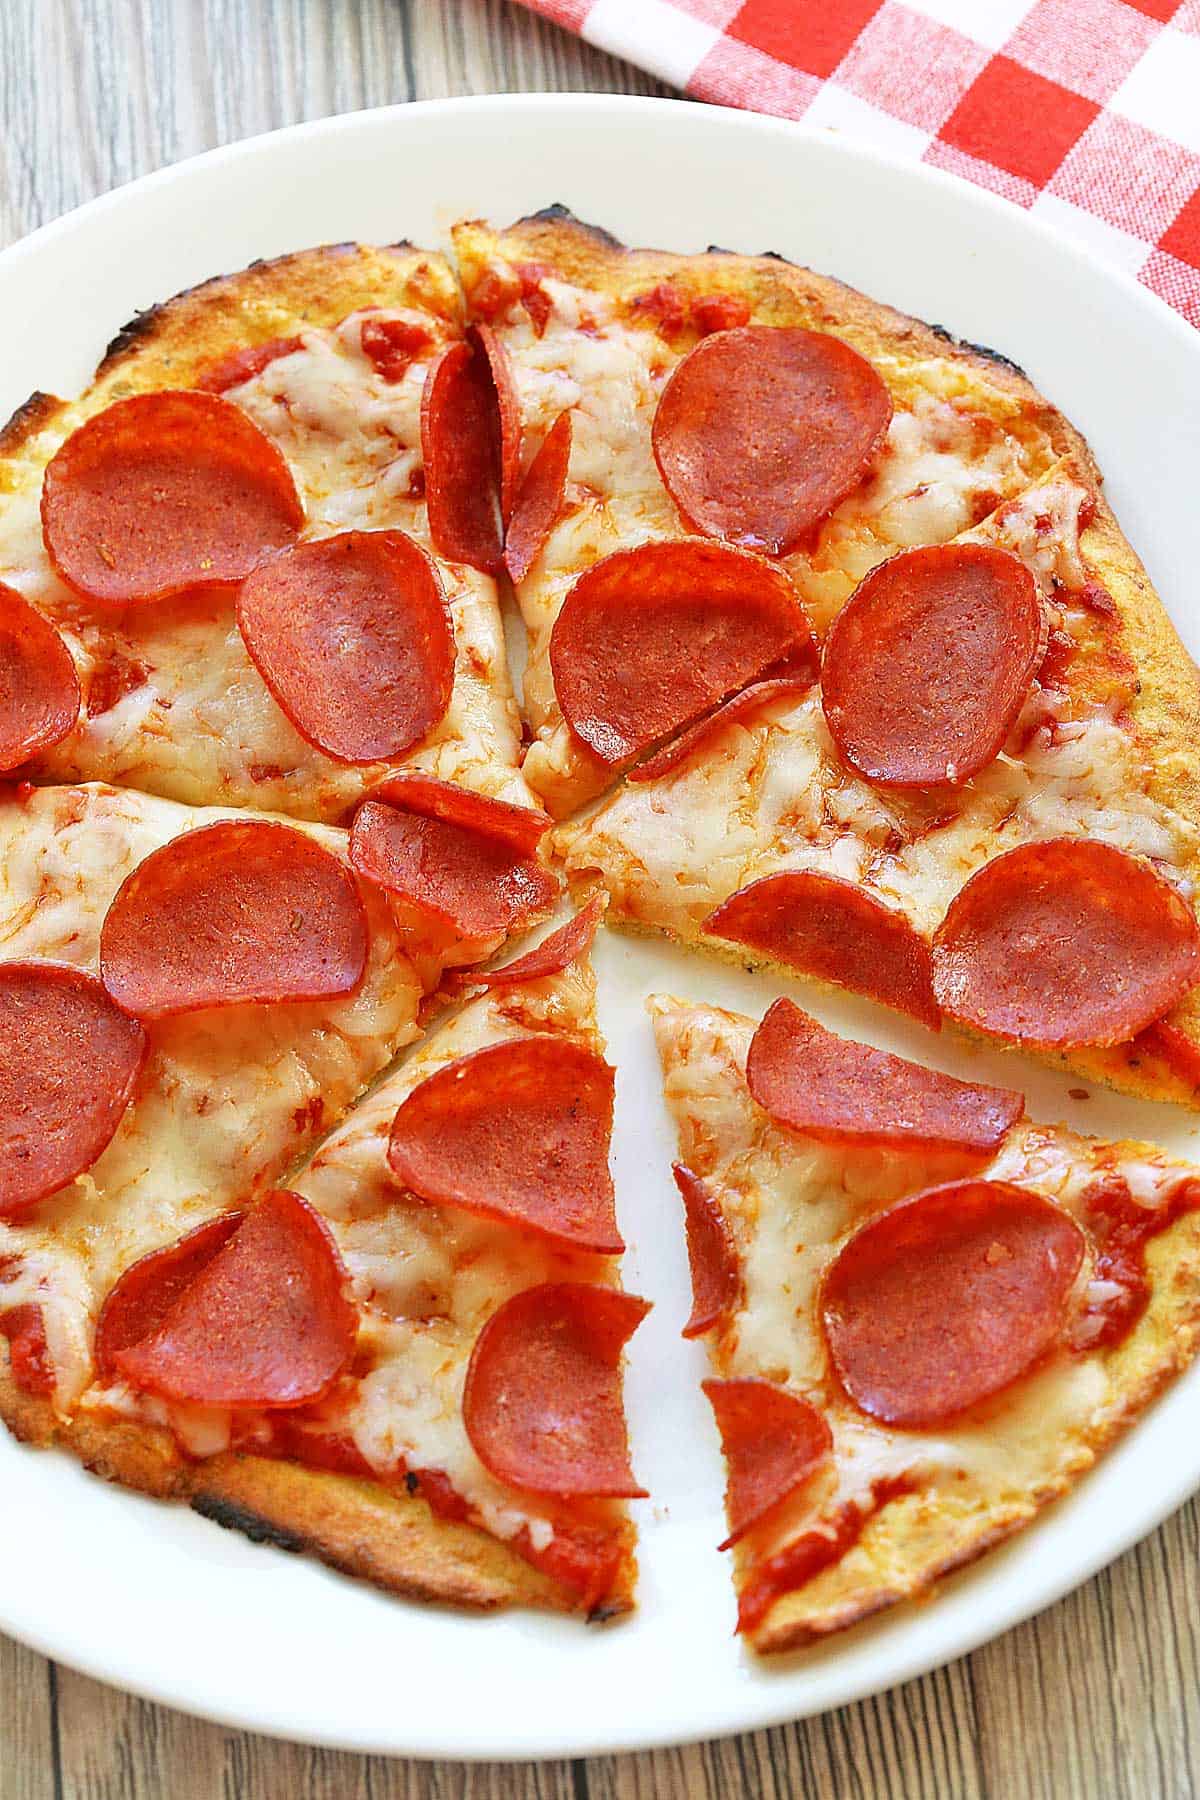
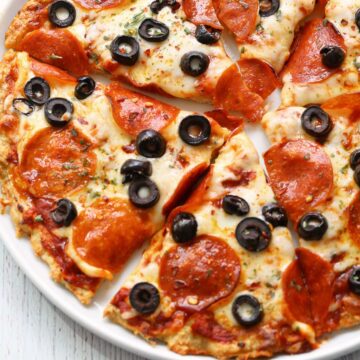
This pizza crust is so good! The seasonings mask the inherent sweetness of the coconut, so the result is a pleasantly savory crust that goes wonderfully with the toppings. You can top this pizza simply, with sauce and cheese, or add your favorite toppings, including pepperoni, olives, and mushrooms.
Ingredients
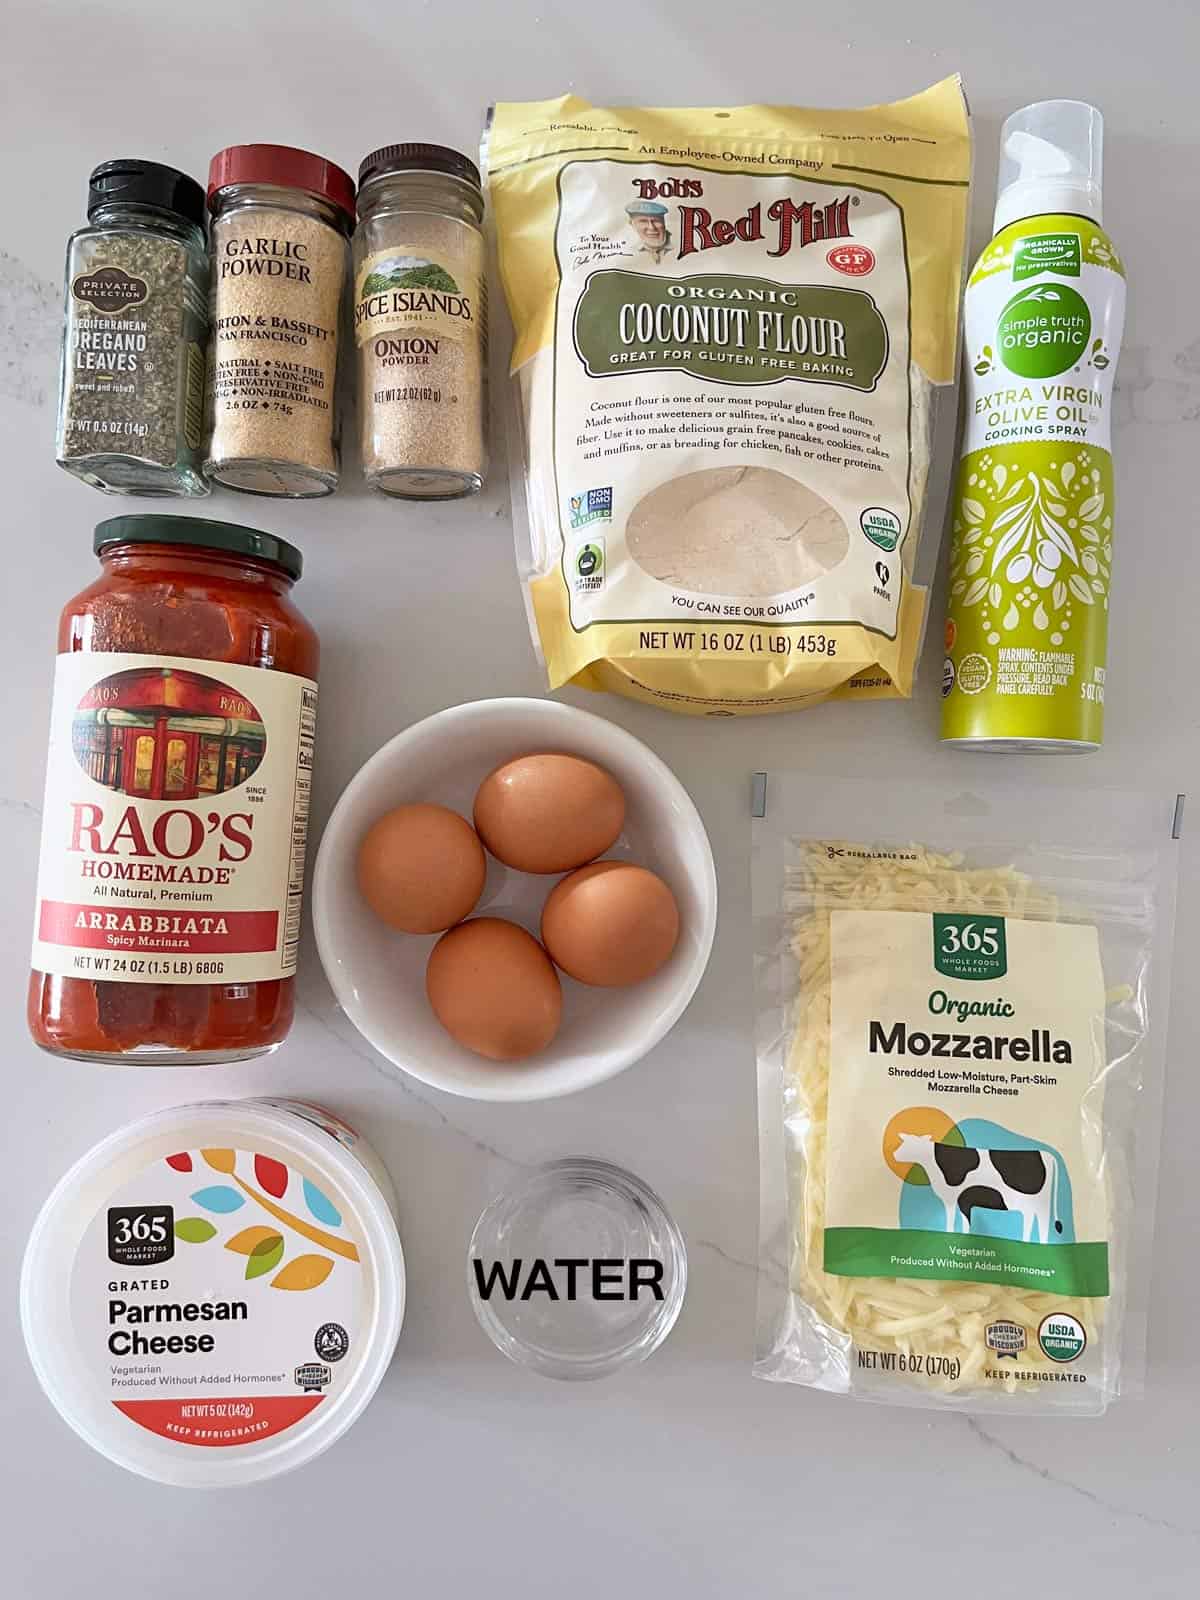
See the recipe card for exact measurements. Here are my comments on some of the ingredients.
- Spices: Garlic powder, onion powder, and dried oregano. Sometimes, I substitute dried thyme for the oregano.
- Coconut flour: Since it's so extremely absorbent, it's best to measure it by weight and not by volume. Each gram counts!
- Grated Parmesan cheese: Make sure you use finely grated cheese and not coarsely shredded.
- Toppings: Pizza sauce (try to use a sugar-free sauce such as Rao's) and shredded mozzarella.
Instructions
The detailed instructions and step-by-step photos are included in the recipe card. Here's a quick overview.
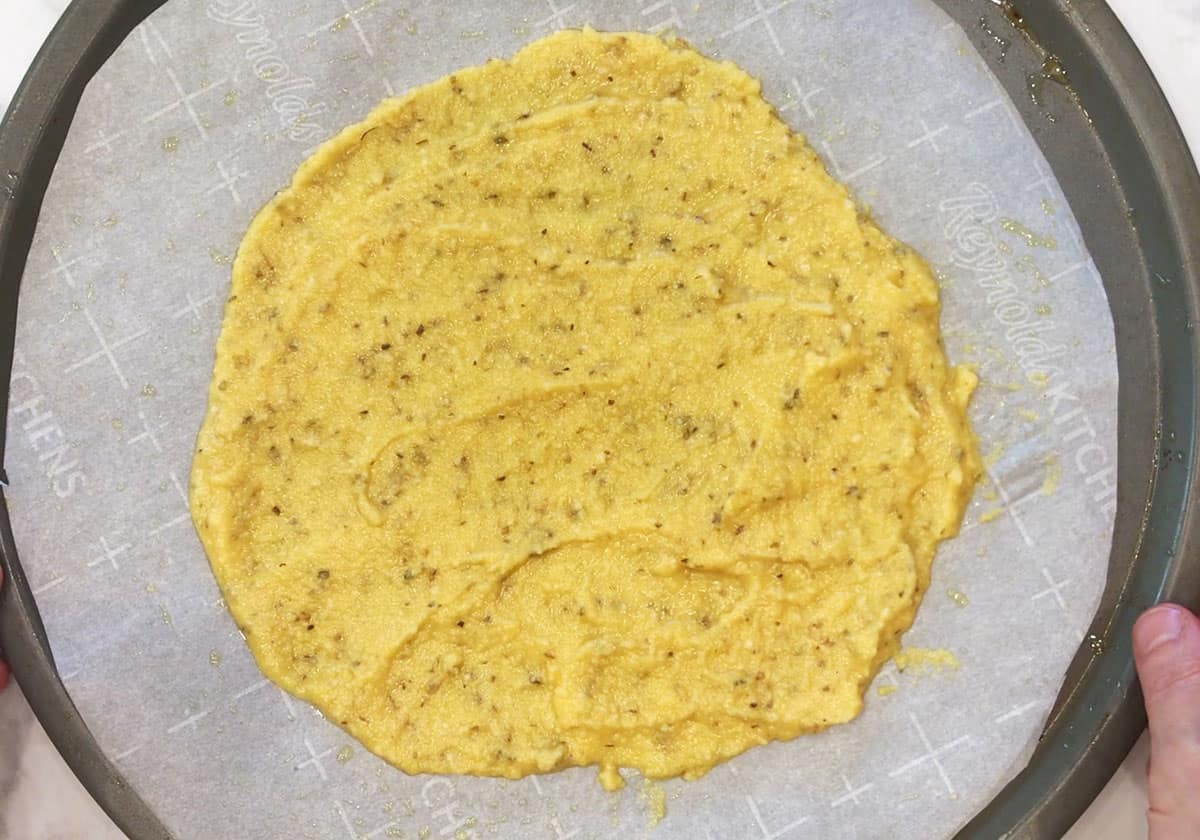
Mix the crust ingredients. Allow the mixture to rest and thicken for a couple of minutes to allow the coconut flour to soak up the liquid. Divide the mixture between two parchment-lined pizza pans. Use a spatula to spread it out evenly into an 8-inch circle.
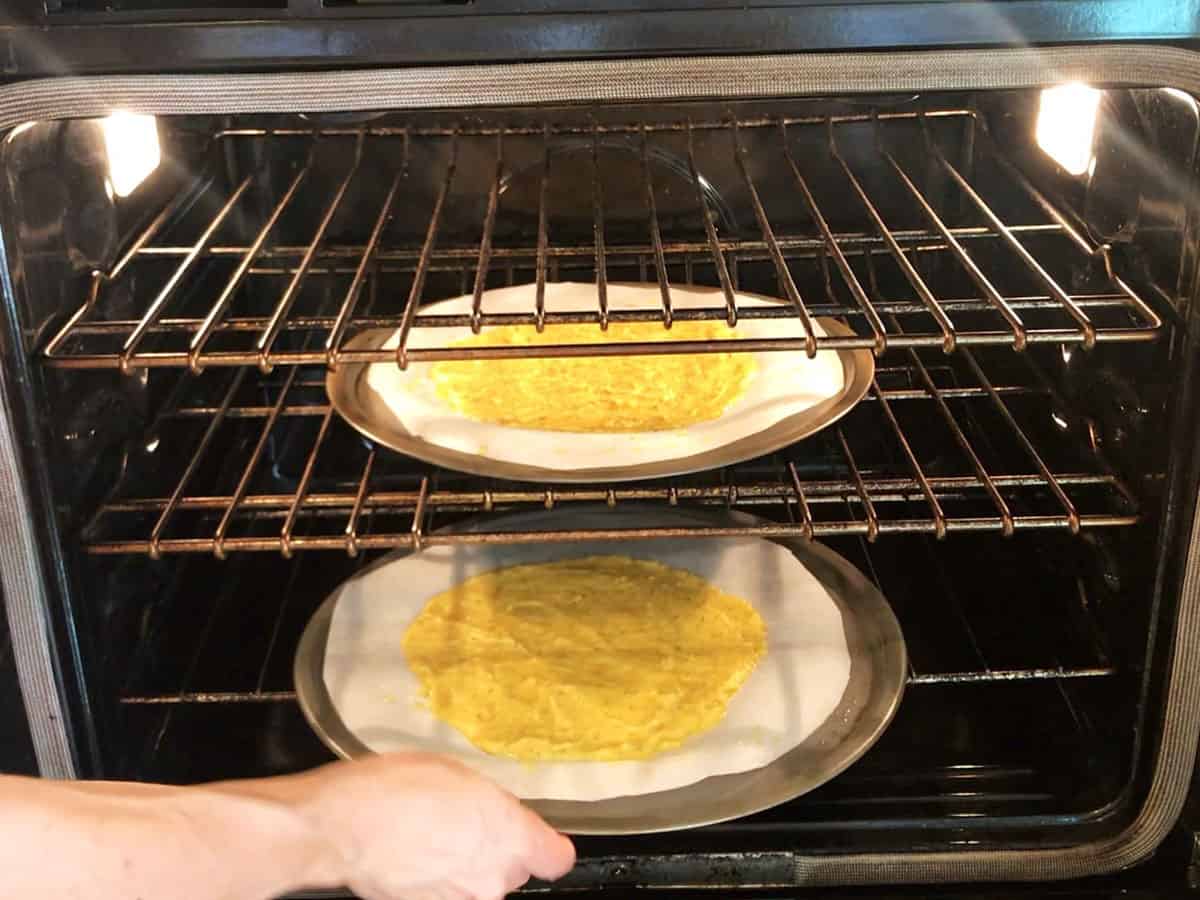
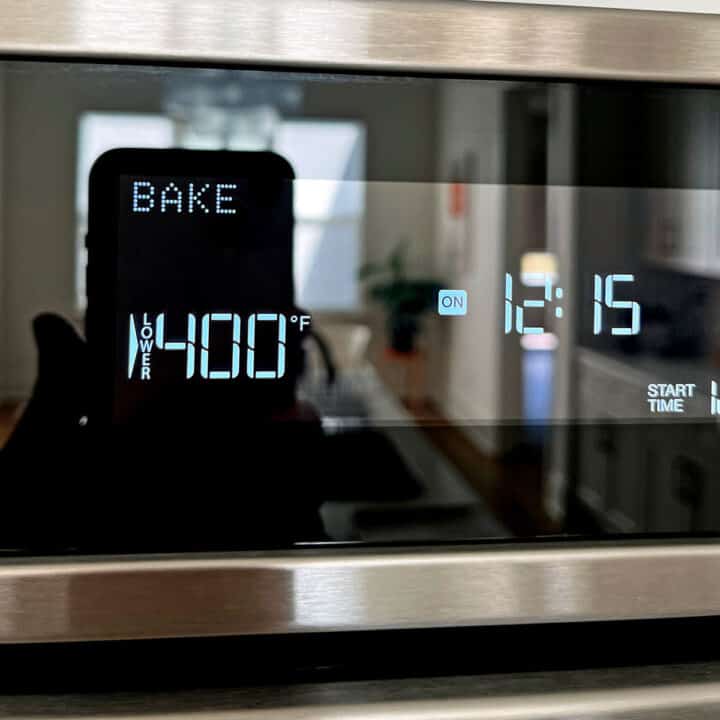
Bake the crusts until set and the edges are beginning to brown, about 15 minutes in a 400°F oven.
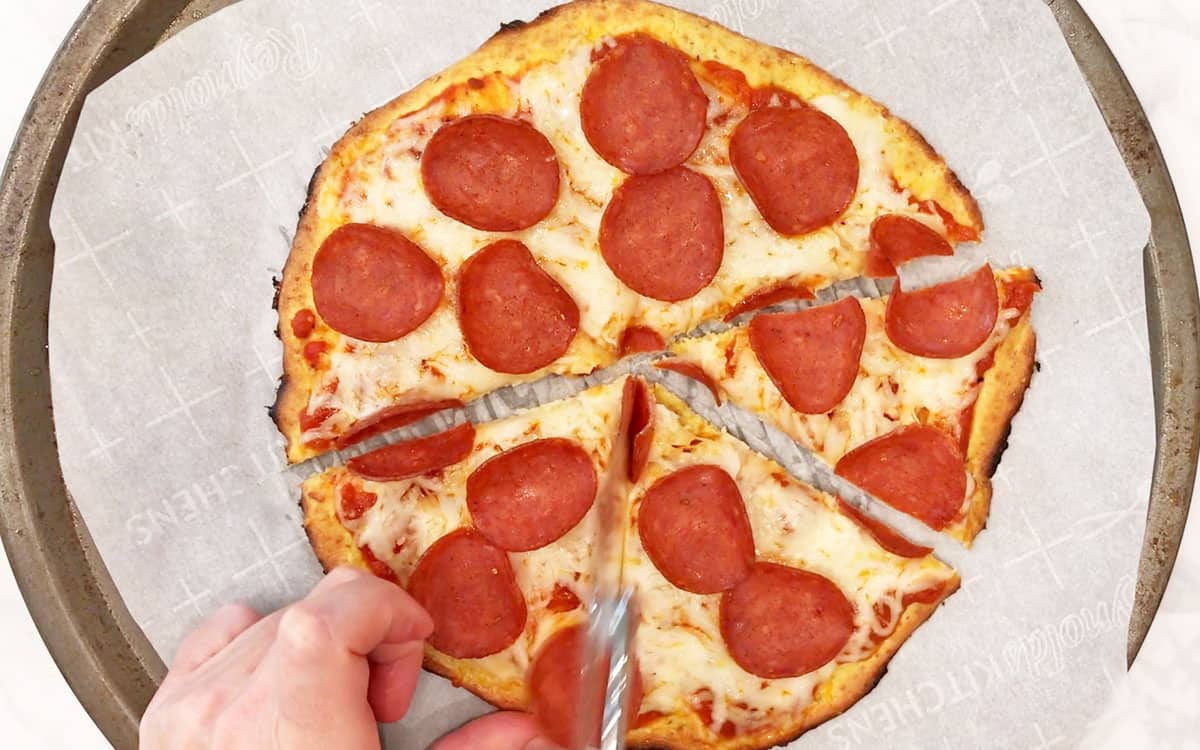
Remove the pizzas from the oven. Top them with pizza sauce, mozzarella, and any other toppings such as pepperoni. Return the pizzas to the oven and bake them until the cheese is melted and the crust is golden brown, about 5 minutes. Slice and serve.
Made it last night for dinner. Hubby was quite apprehensive but ended up loving it and demanding that I add it to the weekly menu!
Emma
Read more comments
Recipe Tips
Toppings
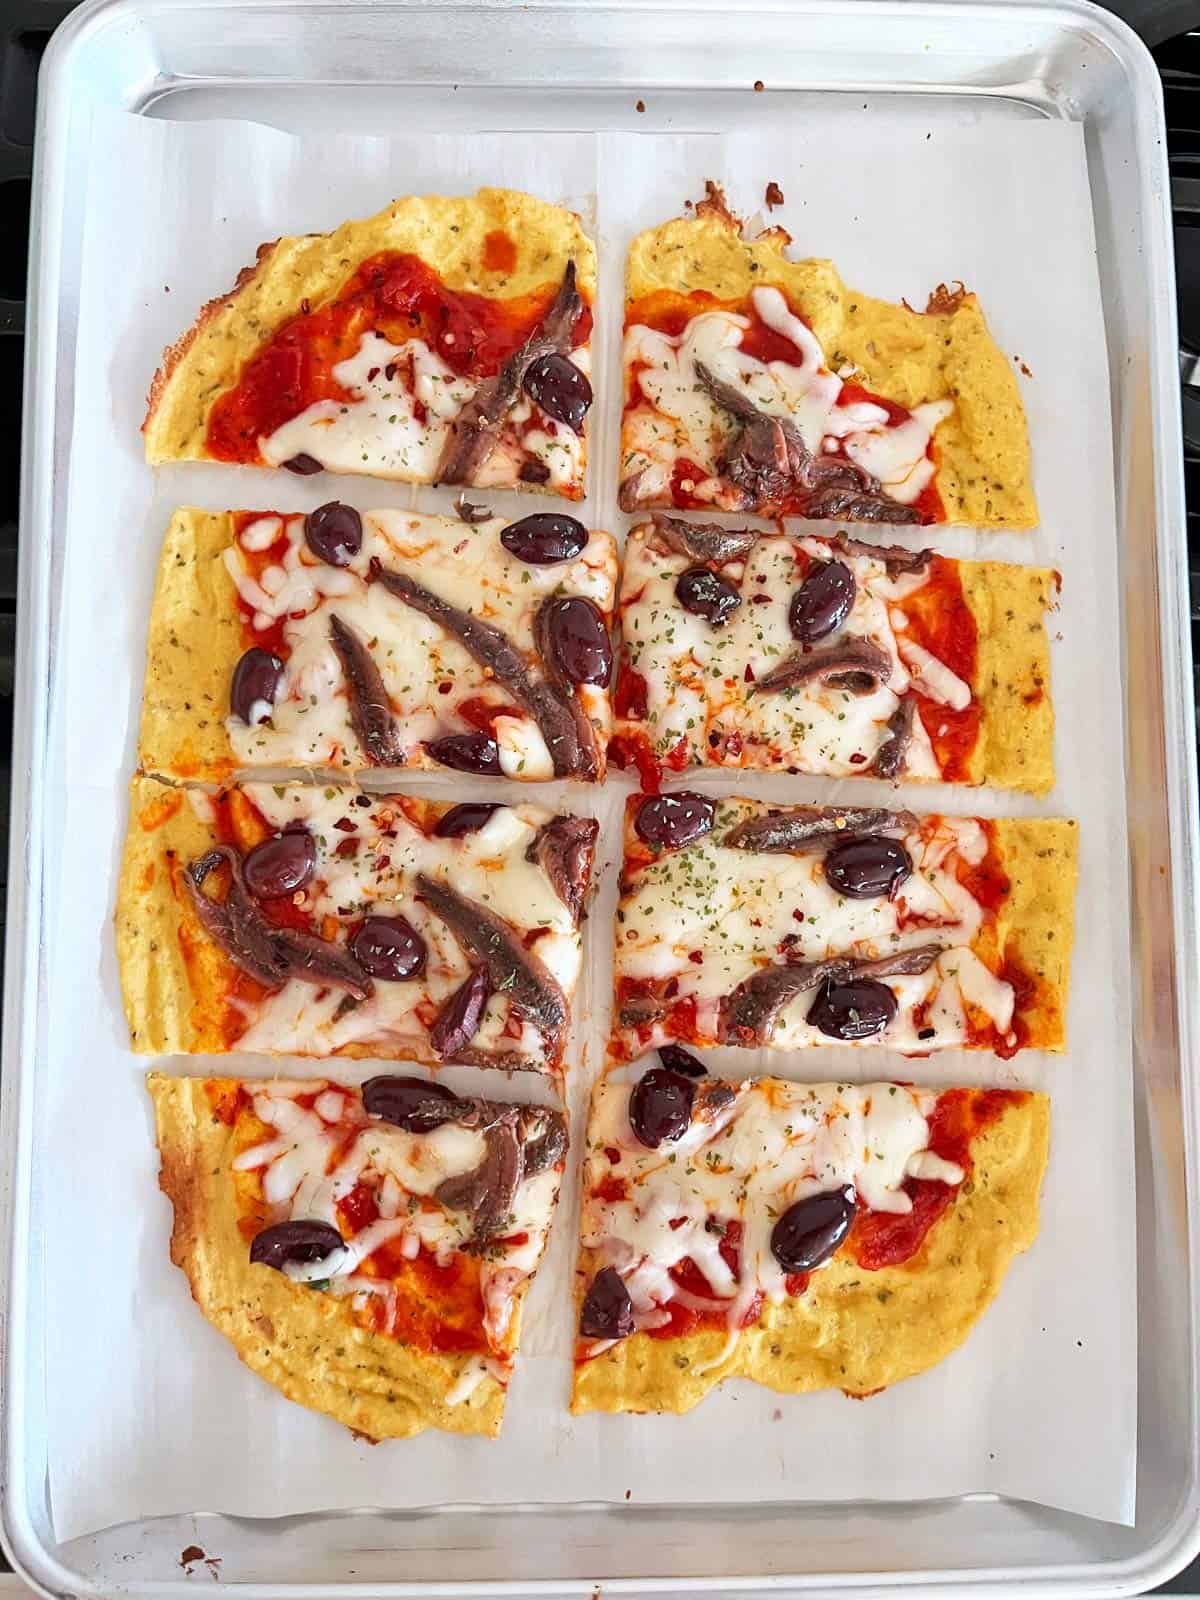
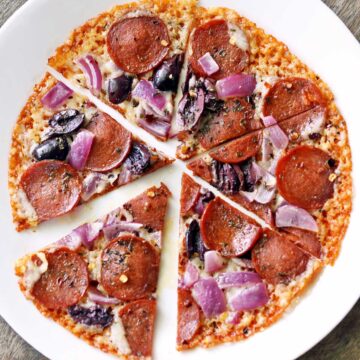
When it comes to toppings, you can use whatever you like. I typically use pepperoni, but in the photo below, I made one big rectangular pizza instead of two round ones and topped it with olives and anchovies. Other delicious options include sliced peppers, sautéed mushrooms, and sautéed onions.
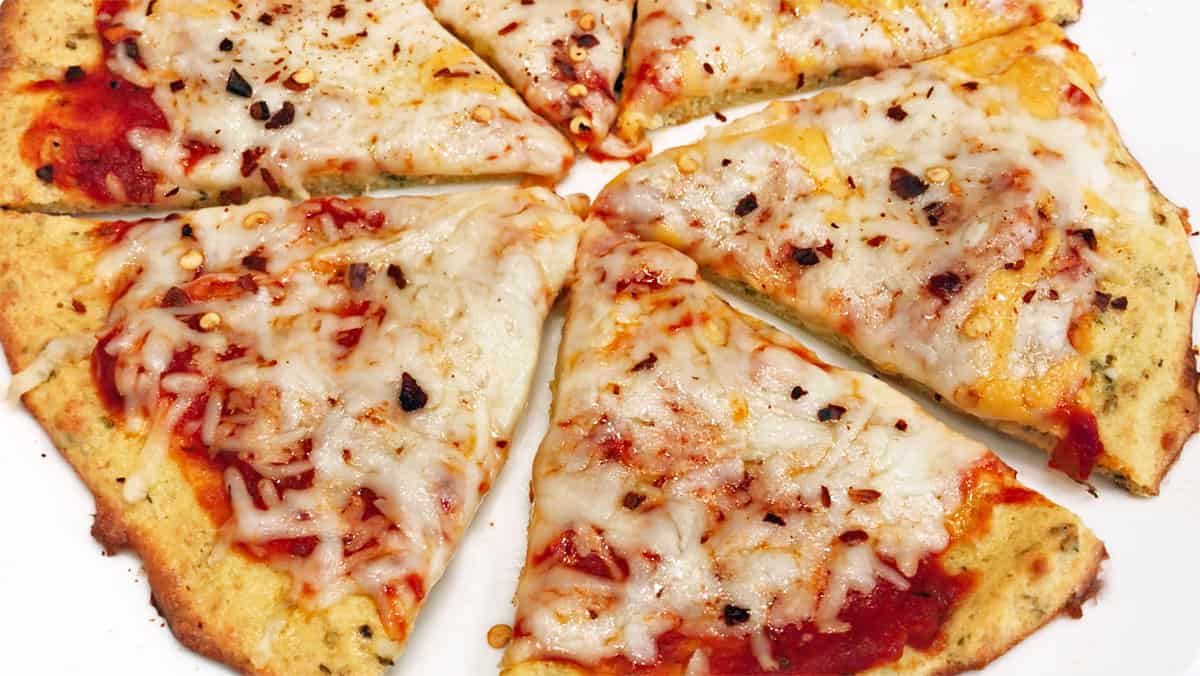
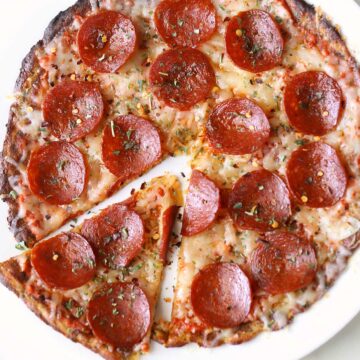
The only caveat: This crust is more delicate than a traditional crust, so try not to pile too many toppings on your pizza. Of course, there's nothing wrong with skipping toppings altogether and using just pizza sauce and cheese, as shown in the photo below.
How to Tell When the Crust is Done
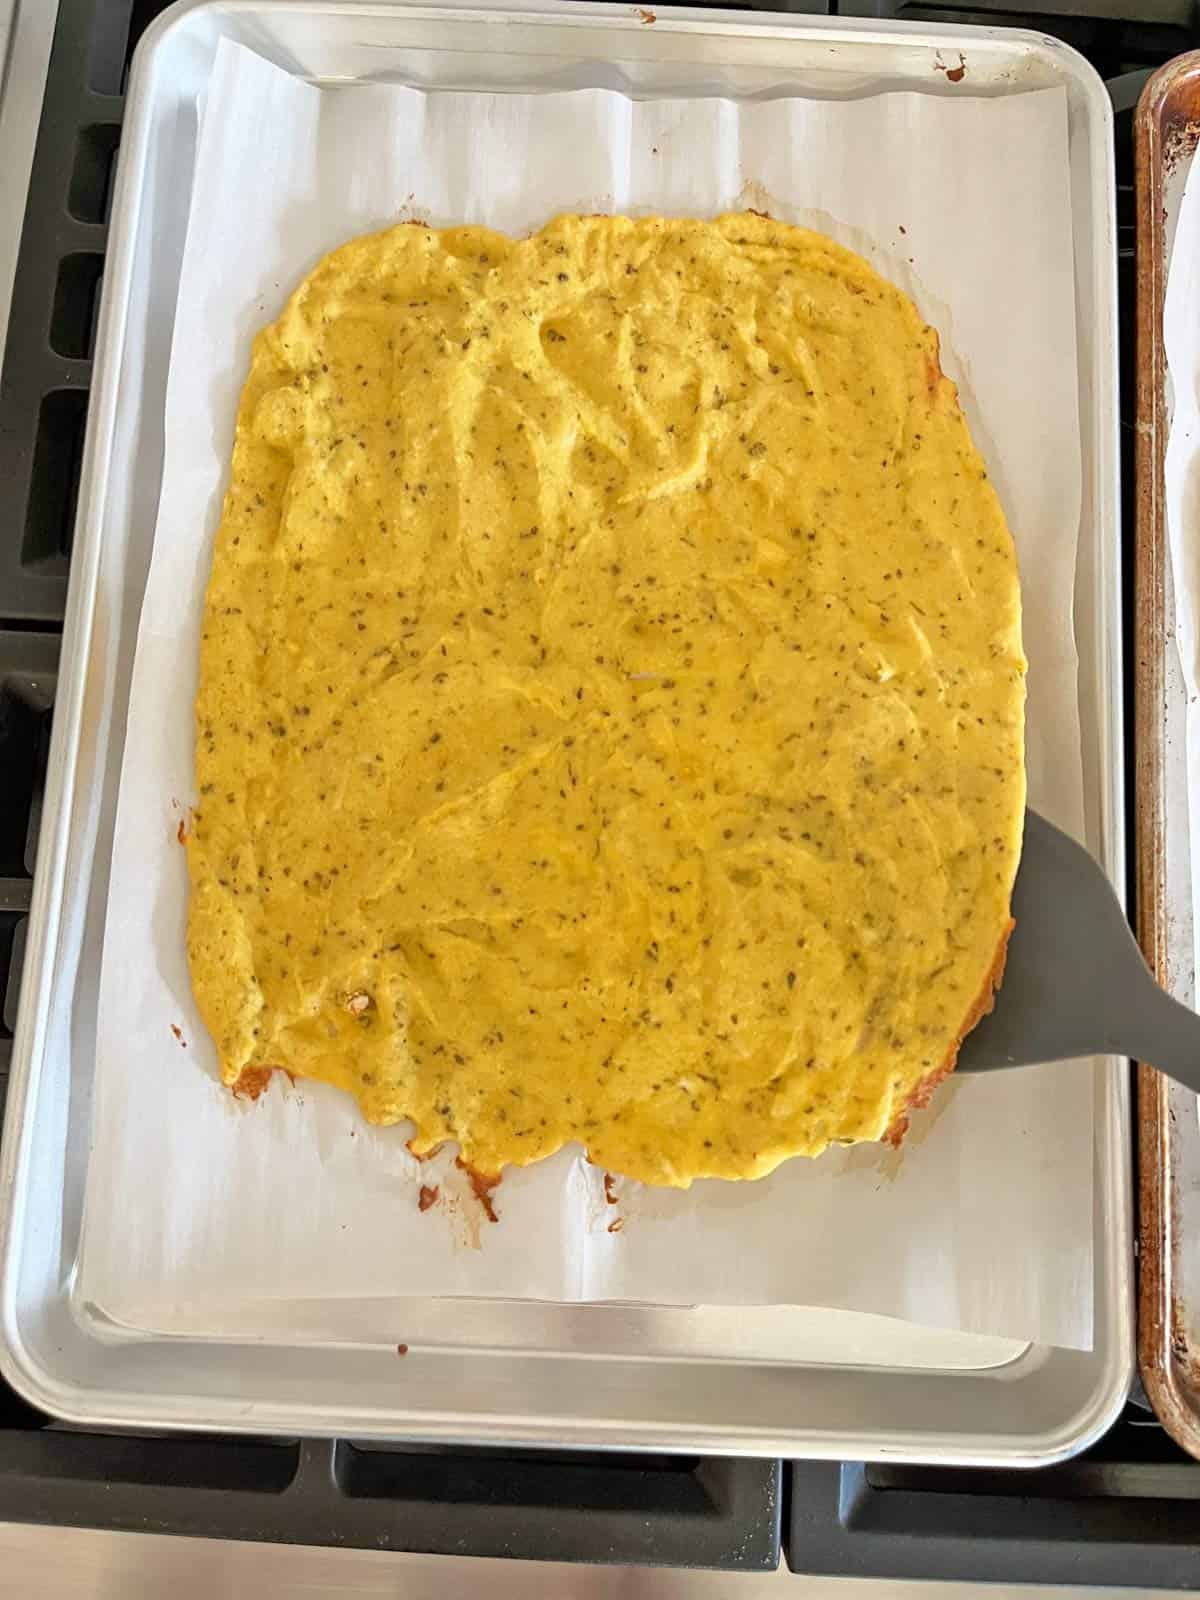
When the crust is done, you should be able to gently lift it off the parchment paper with a wide spatula, as shown in the photo below. If you can't, the crust is too wet and needs more time in the oven.
Storage Tips
You can keep the leftovers in an airtight container in the fridge for up to 4 days. Reheat them uncovered in a 350°F oven or in a nonstick skillet. You can also freeze the cooled leftovers in freezer bags for up to three months. Thaw them overnight in the fridge and reheat them in the oven.
Serving Suggestions
I like to serve this pizza with a simple side salad. Good options include any of the following:
If you'd like to recreate a pizza takeout experience, you can serve this pizza with baked wings or buffalo wings, fresh-cut veggies, and blue cheese dressing.
Recipe Card
Coconut Flour Pizza Crust
Video
Ingredients
- Olive oil spray - for the pizza pans
For the crust:
- 4 large eggs
- 2 tablespoons water
- 1 teaspoon garlic powder
- 1 teaspoon onion powder
- 1 teaspoon dried oregano
- ¼ cup coconut flour - 1 ounce; please measure by weight
- 6 tablespoons Parmesan cheese - grated; 1 ounce
Topping:
- ½ cup marinara sauce
- 1 cup part-skim mozzarella - shredded; 4 ounces
Instructions
- Preheat the oven to 400°F.
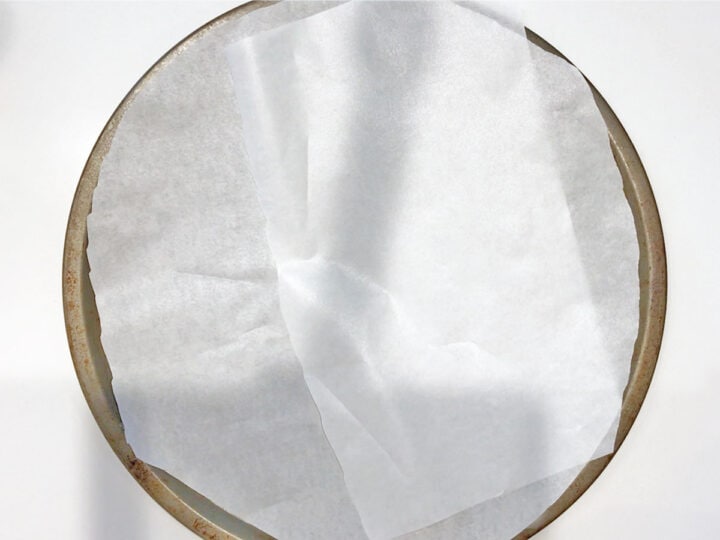
- Line two pizza pans with high-heat-resistant parchment paper and spray the paper with olive oil. You can also make these pizzas side by side on a single large, rimmed baking sheet lined with parchment and greased.
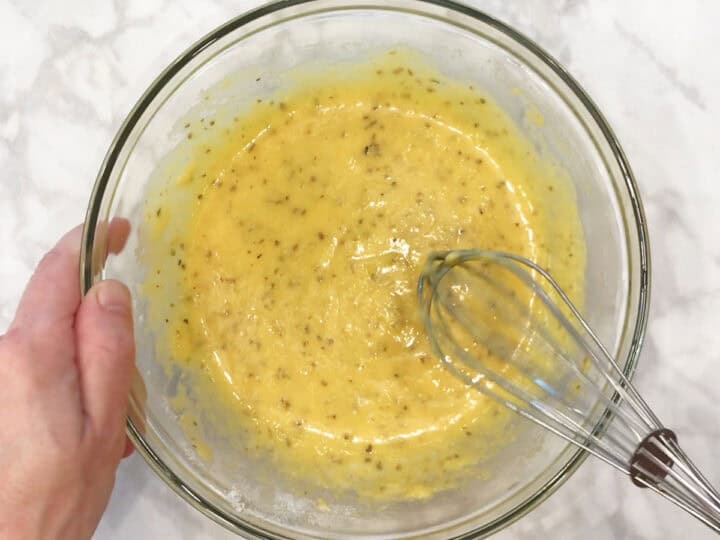
- In a large bowl, whisk the eggs with the water, garlic powder, onion powder, and dried oregano.
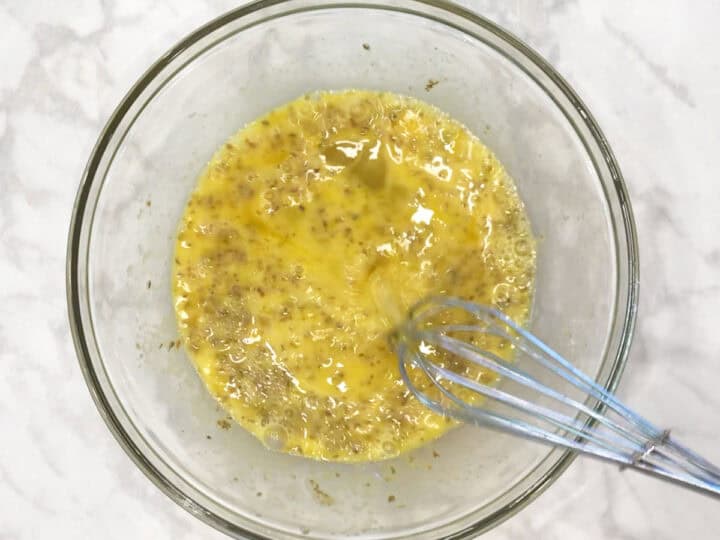
- Measure out the coconut flour, breaking up any lumps with your hands. Stir the coconut flour into the egg mixture, mixing until smooth.
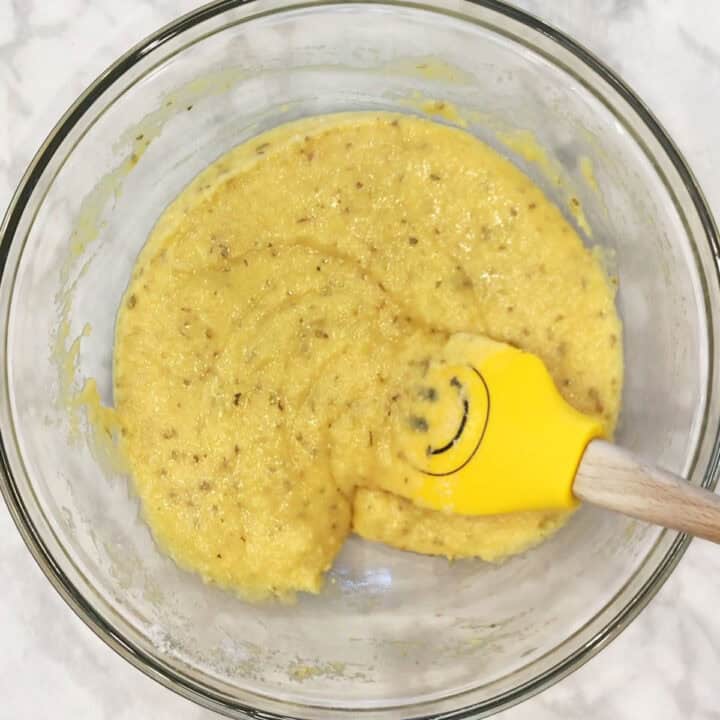
- Use a rubber spatula to mix in the Parmesan cheese. Allow the mixture to rest and thicken for a couple of minutes. This will allow the coconut flour to soak up the liquid.
- Using a rubber spatula, transfer half of the mixture onto each of the prepared pans. Use a spatula to spread it out evenly into an 8-inch circle.

- Bake the crusts for 10-15 minutes, until the edges are browned and the middle is still yellow but set. You should be able to gently lift it off the parchment paper at this point with a wide spatula, as shown in the photo.

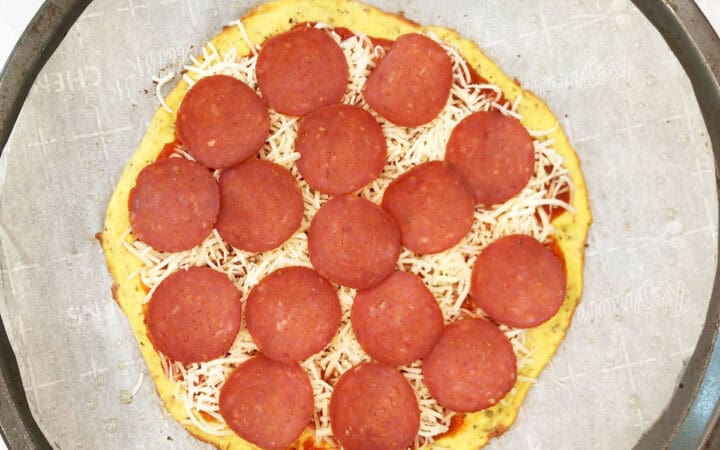
- Remove the pizzas from the oven, but keep the oven on. Spread each pizza with half the pizza sauce, sprinkle it with half the shredded mozzarella, and add any other toppings you like (I often use Applegate’s pepperoni).
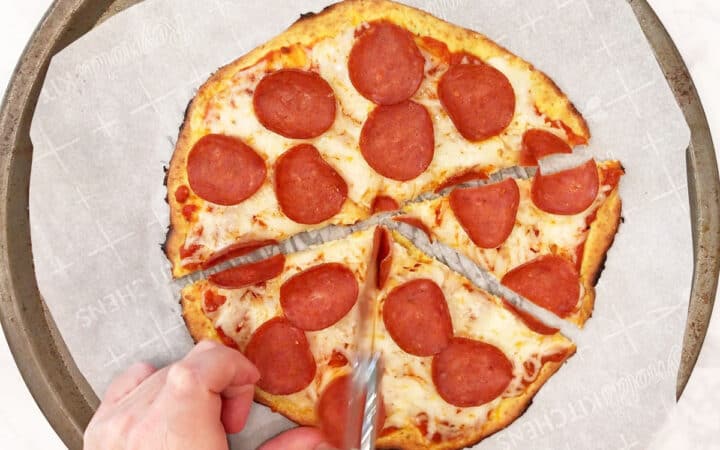
- Return the pizzas to the oven and bake them until the cheese is melted and the crust is golden brown, about 5 minutes. Cut each pizza into six triangles and serve.
Notes
- Instead of dividing the dough into two pizzas, you can bake one large rectangular pizza on a greased, parchment-lined, rimmed baking sheet.
- When it comes to toppings, you can use whatever you like. The only caveat: This crust is more delicate than a traditional crust, so try not to pile too many toppings on your pizza.
- You can keep the leftovers in an airtight container in the fridge for up to four days. Reheat them uncovered in a 350°F oven or in a nonstick skillet.
- You can also freeze the completely cooled leftovers in freezer bags for up to three months, separating layers with wax paper. Defrost overnight in the fridge and reheat in the oven.
Nutrition per Serving
Save this Recipe!
We will also add you to our weekly newsletter. Unsubscribe anytime. See healthyrecipesblogs.com/privacy/ to learn how we use your email.
Disclaimers
Most recipes are low-carb and gluten-free, but some are not. Recommended and linked products are not guaranteed to be gluten-free. Nutrition info is approximate. Please verify it independently. The carb count excludes non-nutritive sweeteners. Please read these Terms of Use before using any of my recipes.

Chell says
I haven't made the pizza crust yet but I am inquiring, can I make the crust a day or two beforehand and store it in the fridge until I'm ready to make the pizza for consuming? As appose to making the pizza and putting the whole uneaten pizza in the fridge.
Vered DeLeeuw says
Hi Chell,
I think it should work. Bake it and keep it on the pan (on the parchment paper) so it doesn't tear. It's delicate compared to regular crust.
Dixie says
Do you think this crust will work for the crust of a deep dish pizza baked using a cast iron skillet?
Vered DeLeeuw says
Hi Dixie,
I don't think so. Sorry!
Emma says
Made it last night for dinner. Hubby was quite apprehensive but ended up loving it and demanding that I add it to the weekly menu!
Vered DeLeeuw says
Glad you and your husband liked this pizza, Emma! Thanks for the comment.
Brandon says
The pizza looks good but it’s welded to the parchment paper so it’s having to go in the trash. I followed all the steps so I’m not sure what happened.
Vered DeLeeuw says
I'm stumped, Brandon! I assume you greased the parchment paper, measured the coconut flour by weight, and baked the crust until it was fully baked. I also assume you used parchment and not wax paper. I'm sorry this happened - how annoying.
Brandon says
Sure enough you are right. I went back and checked it was indeed wax paper I used. Bought high heat parchment and worked great. Such an easy recipe, no messing with forming the dough you just pour it in and spread it around. Really great stuff I look forward to finding more recipes to try
Vered DeLeeuw says
Phew! I'm glad we were able to troubleshoot, Brandon.
Caslyn says
Thanks so much for sharing! Is there a version with less egg? the taste and texture more like a delicious omlette than a pizza.
overall easy to make and very yummy. I put 2 cheeses, mixed cold meats and feta on mine. YUM!
Vered DeLeeuw says
Hi Caslyn,
Interesting. This hasn't been my experience, and I've been making this pizza crust for several years.
If you found it too eggy, and can eat nuts, you can try this almond flour pizza crust.
Lyndsey says
AMAZING! Recently found out about my gluten and dairy allergies but was craving a homemade pizza. This did not disappoint. I substituted the cheeses for dairy-free versions and this still came out excellent. Definitely will be making again!!
Vered DeLeeuw says
Yay! I'm so glad you enjoyed this pizza crust, Lyndsey. Thank you for letting us know that dairy-free cheese works.
MichaelL says
i know this will be good. What about making ahead and freezing?
I bet it will be ok to freeze the crusts at least.
Vered DeLeeuw says
Hi Michael,
You can freeze this pizza for up to three months. Let it cool completely, cut it into slices, and place them in a freezer bag. if layering, place wax paper between the layers. Reheat the slices in a covered nonstick skillet over low heat.
Chell says
Oh wow, I just asked this question. I guess I should have read the comments 1st. Ha ha!
Vered DeLeeuw says
Hi Chell,
I think your question was worth asking! It's a slightly different scenario, I believe.
Hannah says
How do I avoid the pizzas getting stuck to the bottom? It was difficult to tear it off the but very tasty.
Vered DeLeeuw says
Hi Hannah,
Glad you enjoyed this pizza! It shouldn't get stuck if you line your pan with parchment paper like this one.
Shannon says
Do you think it would work to use just egg whites?
Vered DeLeeuw says
It might work - use eight egg whites instead of four whole eggs - but it won't be as good, in my opinion.
Kim says
Can I omit the cheese or use plant-based cheese?
Vered DeLeeuw says
Unfortunately, you can't. The parmesan is an integral part of the crust and can't be substituted.