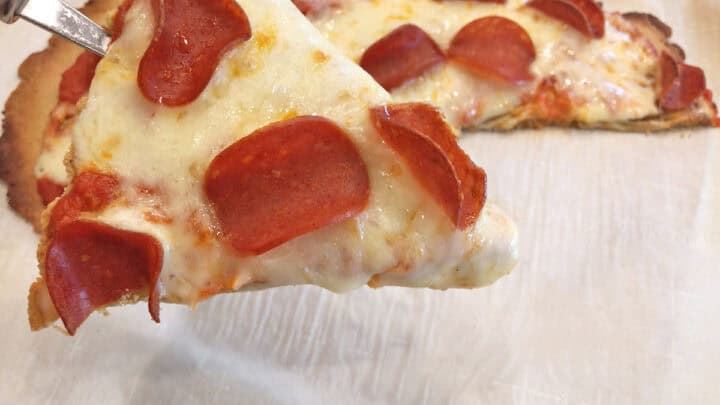
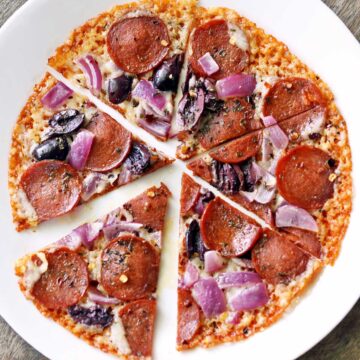
There's no need to give up pizza, even on the keto diet. In this recipe, almond flour, egg, and seasonings are baked into a delicious crust. If you like crispy, thin-crust pizza, you'll love this almond flour pizza crust!
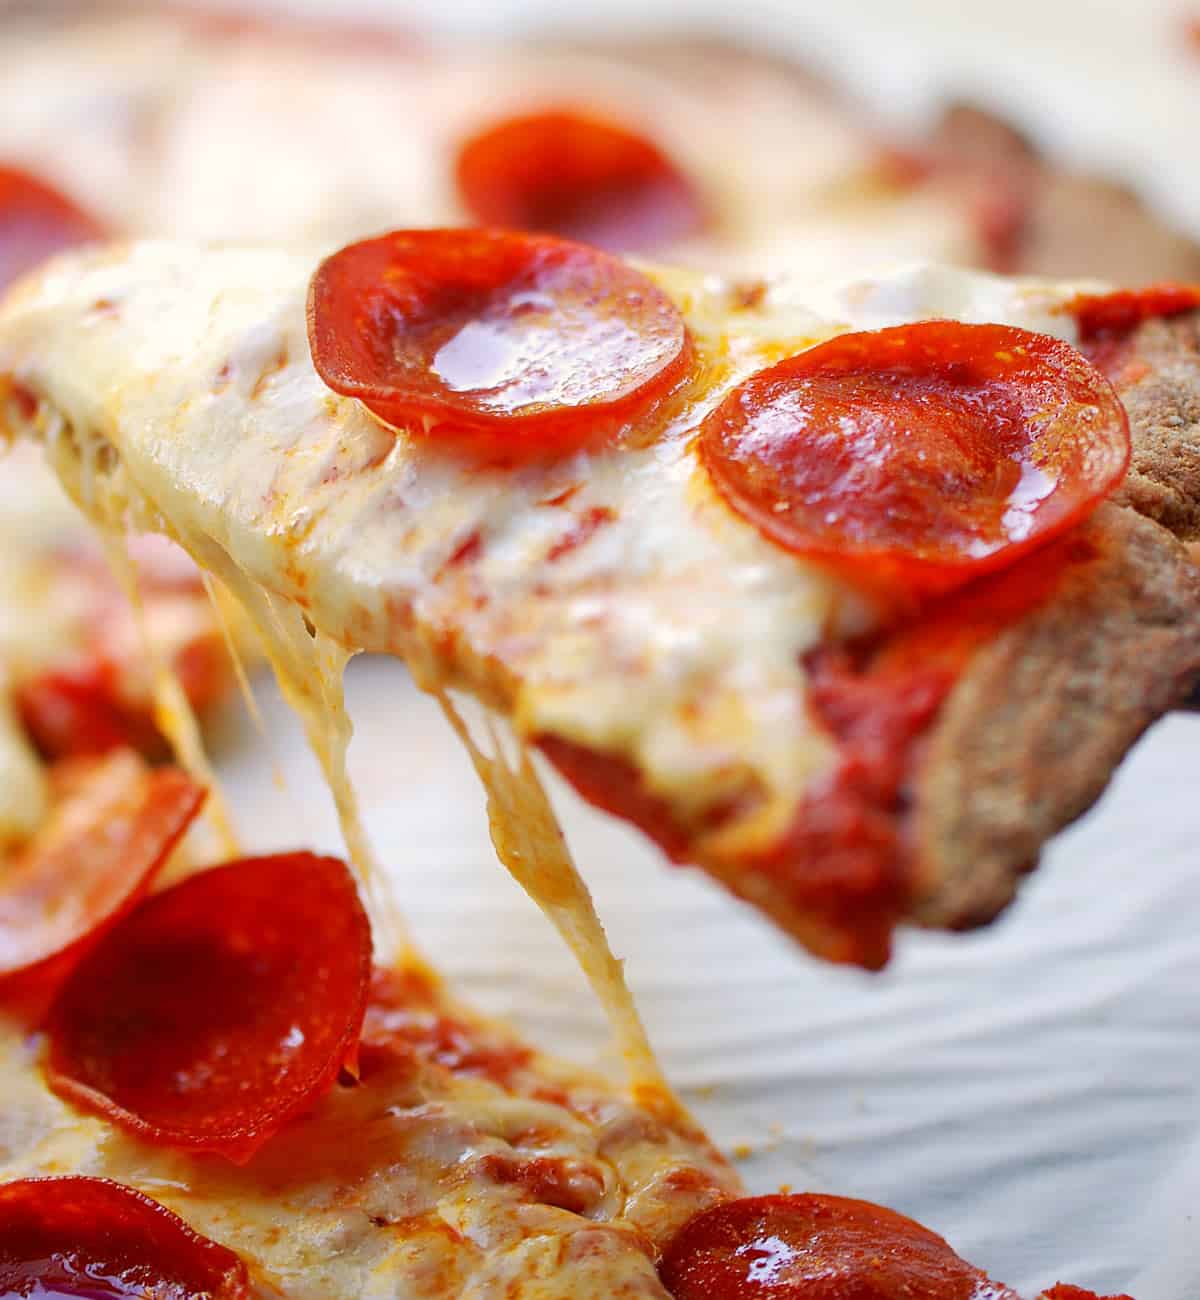
Over the years, I have learned to make low-carb alternatives for many beloved foods. Pizza is one of them. This pizza crust is superb. It's crispy and flavorful. You are most likely to enjoy it if you like crispy, thin-crust pizza. If you're more into a soft crust, you'll probably like this coconut flour pizza crust better.
Ingredients
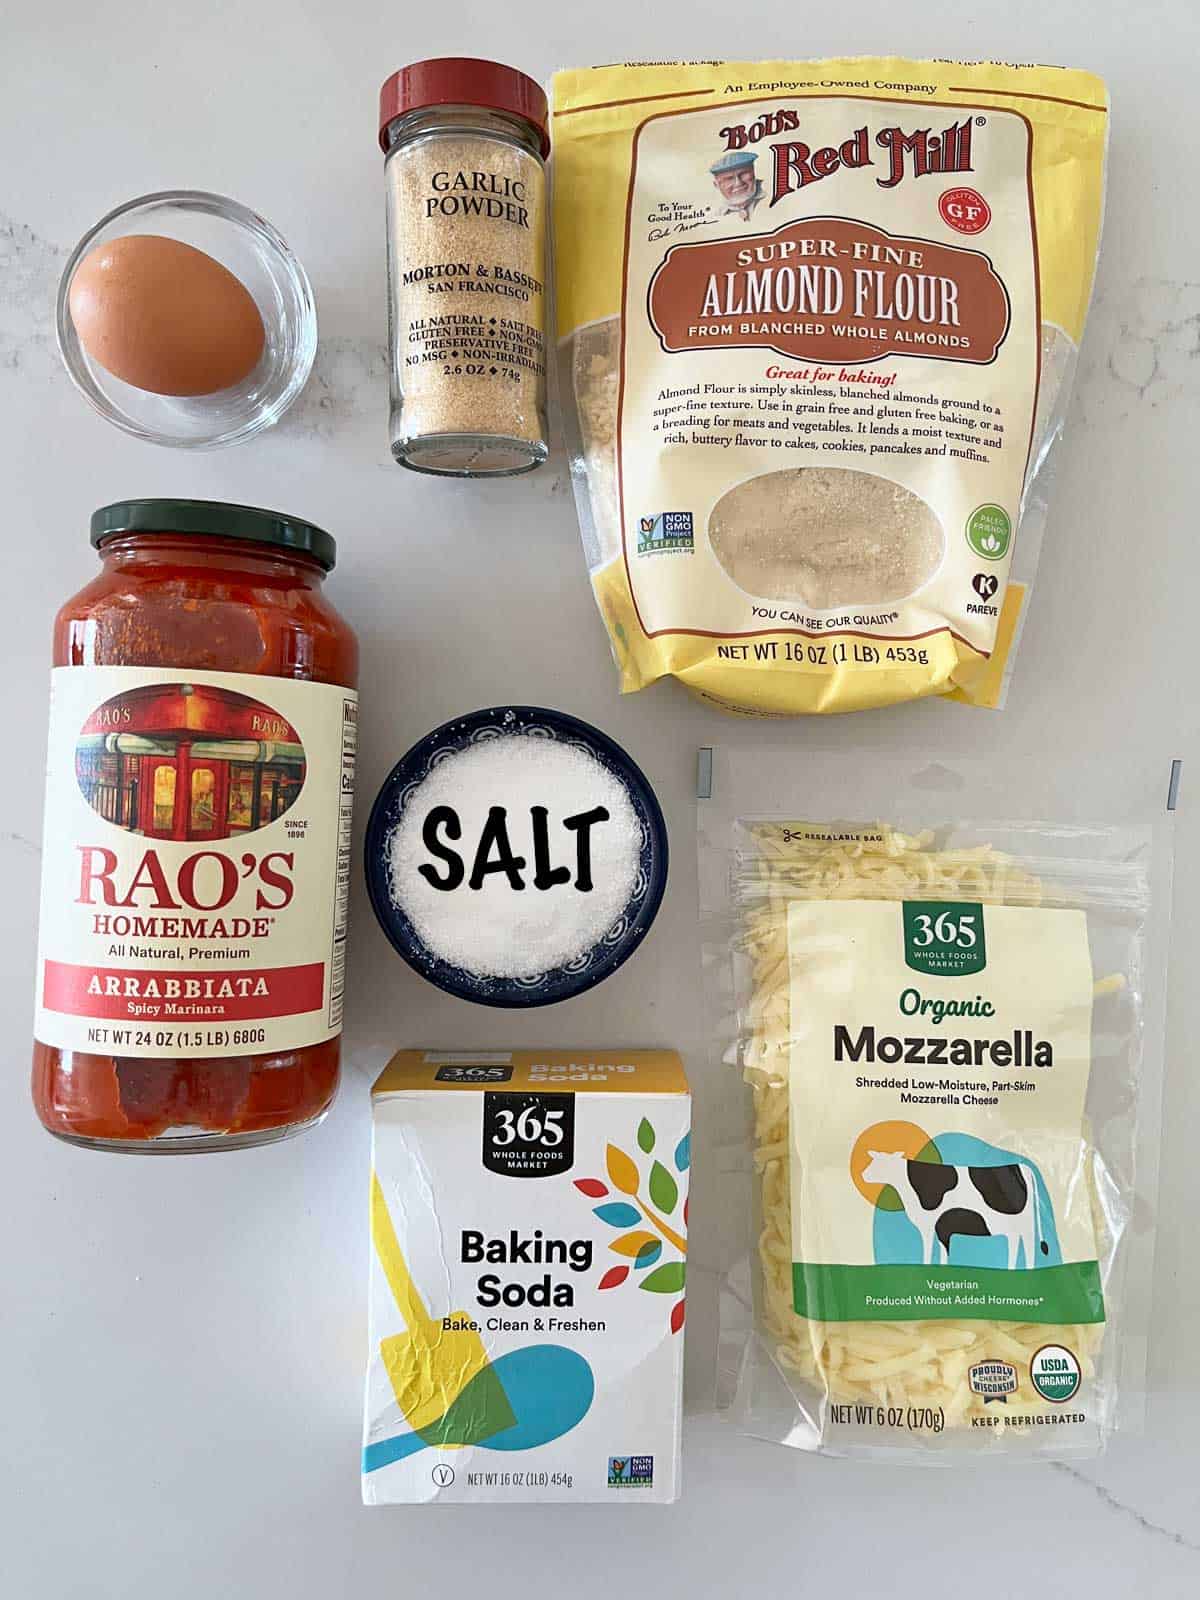
See the recipe card for exact measurements. Here are my comments on some of the ingredients.
- Almond flour: This wonderful ingredient is like magic - it bakes so well! I use superfine almond flour and don't recommend using coarse almond meal.
- Garlic powder: You can use two teaspoons of fresh minced garlic instead.
- Pizza sauce: It's best to use a sugar-free sauce like Rao's.
- Shredded mozzarella: Shred your own, or use pre-shredded cheese. Both work. Provolone is a great substitute for mozzarella.
Instructions
The detailed instructions and step-by-step photos are included in the recipe card. Here's a quick overview.
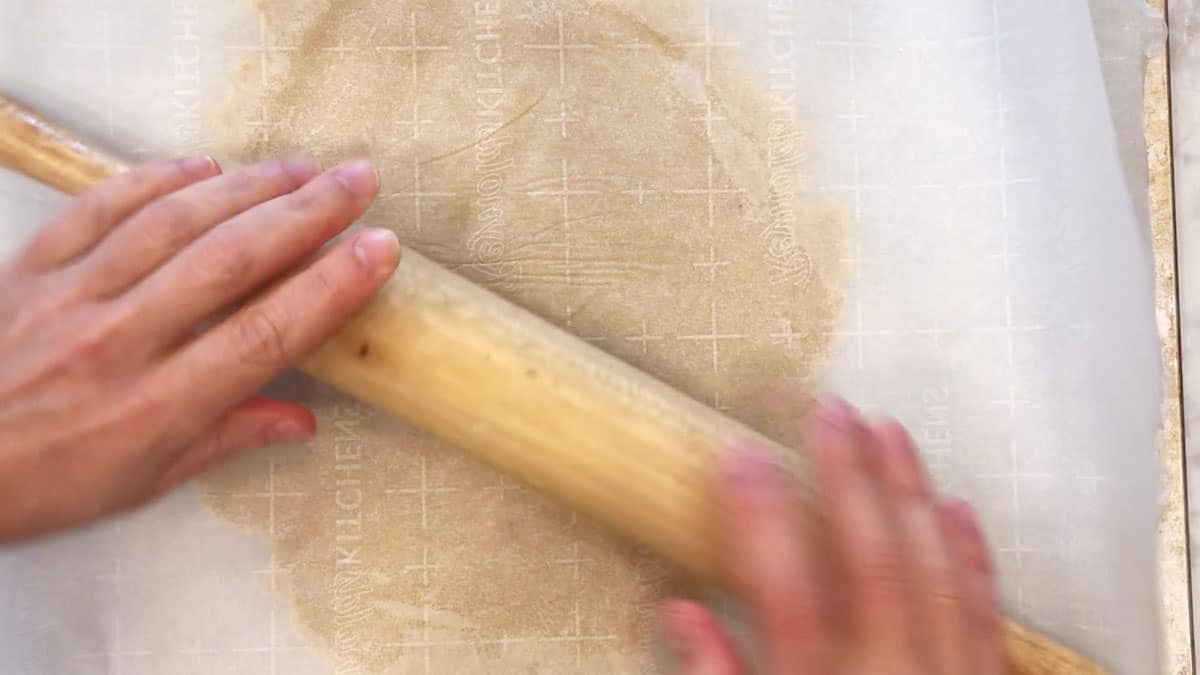
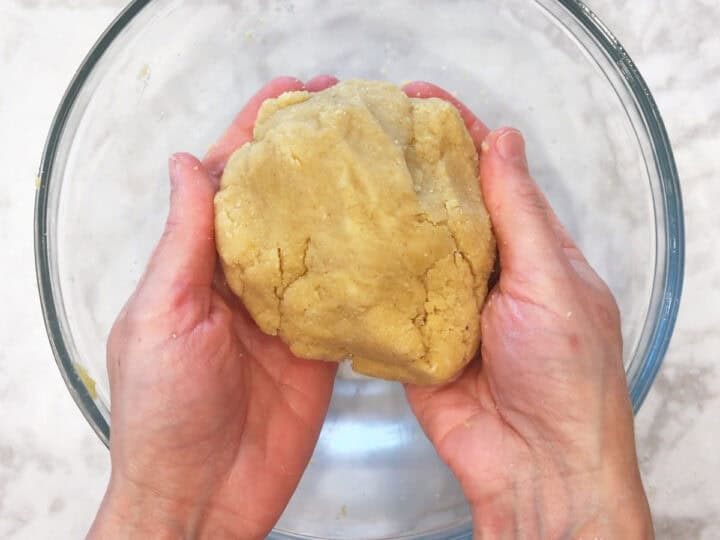
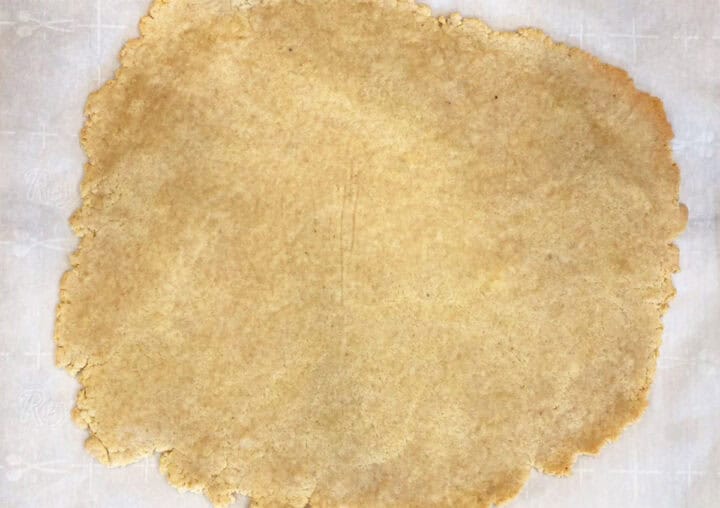
Combine the almond flour, salt, baking soda, garlic powder, and egg. Knead them into a dough. Place the dough between two sheets of parchment paper and roll it into a circle.
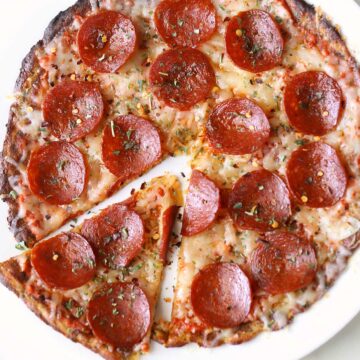
Bake the crust for about 8 minutes at 400°F. Allow to cool in the pan for 5 minutes. Top the crust with pizza sauce, cheese, and any other toppings.

Bake the pizza for 5-10 more minutes to melt the cheese. Cut and serve.

I adore this crust! My issue is, I cook for one, and it's VERY difficult for me to avoid overeating it - yes, it's that good. This crust is probably best for someone who likes a thin crust. If you like thick, doughy crust, this is not for you. It's cracker-like. But oh, so delicious.
Lauren
Read more comments
Recipe Tips
- When kneading the dough, if the mixture is so dry and crumbly that you can’t knead it into a smooth dough, add a tablespoon of water.
- When adding your toppings, such as olives, mushrooms, or peppers, don't overdo it. This crust is different than regular crust and can't handle too many toppings, especially ones that add moisture.
- Serving suggestions: I usually serve pizza with the simplest side of a salad made from leafy greens (such as this arugula salad) with a simple vinaigrette or homemade ranch dressing. Sometimes, I throw in a handful of leftover steamed broccoli florets if I happen to have them in the fridge.
- Storage: You can keep the leftovers in an airtight container in the fridge for up to four days. Line the container with paper towels to absorb extra moisture. Reheat the leftovers for a few minutes in a covered skillet over medium heat. Many thanks to Peg, in the comments below, who taught me the skillet trick for reheating the leftovers!
Recipe Card
Crispy Almond Flour Pizza Crust
Video
Ingredients
Crust:
- 2 cups superfine almond flour - 8 ounces; see notes below
- ½ teaspoon kosher salt
- 1 teaspoon baking soda
- 1 teaspoon garlic powder
- 1 large egg
Topping:
- ½ cup pizza sauce
- 1 ½ cups mozzarella cheese - shredded, part-skim; 6 ounces
Instructions
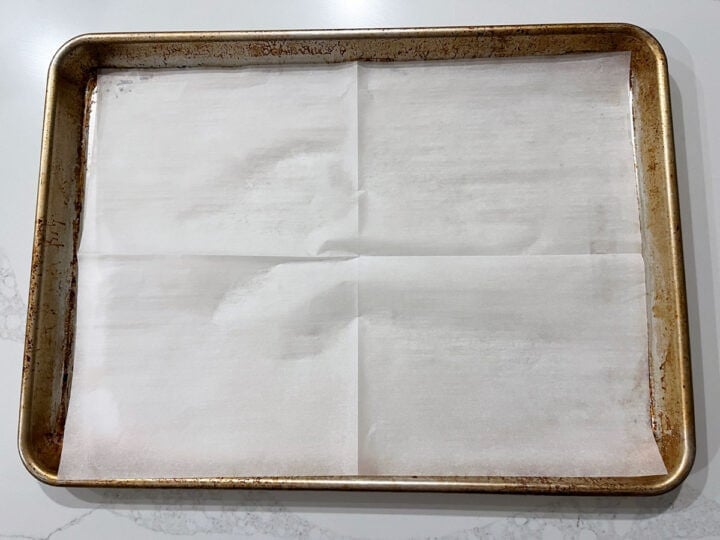
- Preheat the oven to 400°F. Line a large baking sheet with high-heat-resistant parchment paper.
- In a large bowl, whisk together the almond flour, kosher salt, baking soda, and garlic powder.
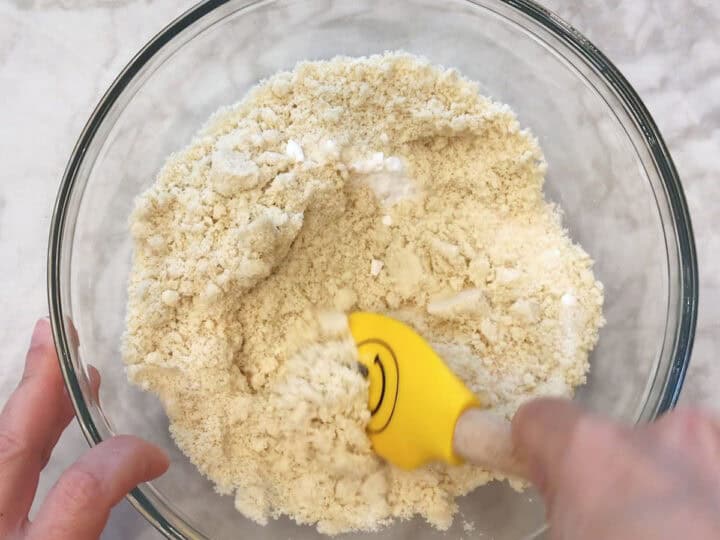
- In a small bowl, whisk the egg. With a rubber spatula, mix the egg into the flour mixture, then knead the crumbly mixture into uniform, smooth dough. If the mixture is so dry and crumbly that you can’t knead it into a smooth dough, add a tablespoon of water.
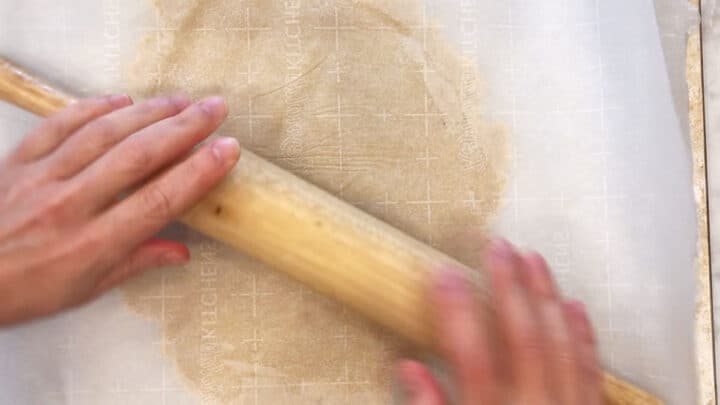
- Transfer the dough to the prepared baking sheet. Cover it with another sheet of parchment paper and use a rolling pin to roll it into a large, 10-inch diameter, ¼-inch-thick circle.
- Remove the top parchment layer. Bake the crust until it's golden and the edges are just beginning to brown, 7-8 minutes. Remove the crust from the oven and allow it to rest in the pan for 5 minutes.
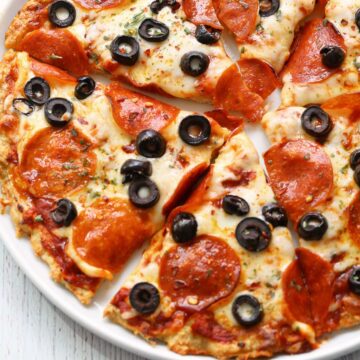
- Top the crust with pizza sauce, mozzarella, and any other toppings (I like to use Applegate pepperoni). Cover the edges of the crust with strips of foil to prevent them from burning.

- Return the pizza to the oven and bake it until the cheese is melted, 5-10 minutes. Remove from the oven and allow to cool and set for 5 minutes, then use a pizza cutter to cut it into 8 triangles. Serve immediately.
Notes
- I use Bob's Red Mill Super-Fine Almond Flour. One cup of this flour weighs 4 ounces, so two cups weigh 8 ounces. It's best to measure almond flour by weight and not by volume.
- When adding your toppings, such as olives, mushrooms, or peppers, don't overdo it. This crust is different than regular crust and can't handle too many toppings, especially ones that add moisture.
- Occasionally, baking soda can cause a reaction in baked goods that results in an ammonia smell. If you're concerned about it happening, use a tablespoon of gluten-free baking powder instead of baking soda. Make sure the baking powder is fresh and not expired.
- You can keep the leftovers in an airtight container in the fridge for up to four days. Line the container with paper towels to absorb extra moisture. Reheat the leftovers for a few minutes in a covered skillet over medium heat. This will help crisp up the crust and melt the cheese.
Nutrition per Serving
Save this Recipe!
We will also add you to our weekly newsletter. Unsubscribe anytime. See healthyrecipesblogs.com/privacy/ to learn how we use your email.
Disclaimers
Most recipes are low-carb and gluten-free, but some are not. Recommended and linked products are not guaranteed to be gluten-free. Nutrition info is approximate. Please verify it independently. The carb count excludes non-nutritive sweeteners. Please read these Terms of Use before using any of my recipes.

Lauren says
I adore this crust! My issue is, I cook for one, and it's VERY difficult for me to avoid overeating it - yes, it's that good. This crust is probably best for someone who likes thin crust. If you like thick, doughy crust, this is not for you. It's cracker-like. But oh, so delicious.
Vered DeLeeuw says
I'm so glad you like this crust, Lauren! Thank you for taking the time to write a review.
Tony says
made this crust tonight, there is a reason why when you eat pizza, eat real pizza. This crust is no good.
Vered DeLeeuw says
Oh no, Tony! I'm so sorry this recipe didn't work for you. 🙁
Lauren says
I'm a type 2 diabetic and can't eat regular pizza without hurting my health. This crust is the best I've found and I tried MANY. Now, I do like a very thin, crispy crust. So maybe that's why it works so well for me.
Mark says
I make this pizza at almost every week. My wife and I enjoy the crispy crust. Thank you!
Vered DeLeeuw says
You're very welcome, Mark!
kim says
Hi, I am wondering if the crusts will freeze well after par-baking? Pizza is our go to on rushed nights, if we could just pull this out of the freezer and top it, it would be great!
Vered DeLeeuw says
Hi Kim,
I haven't tried it, but if you'd like to experiment, I suggest baking the crust, cooling it completely, and then wrapping it in cling wrap and foil and freezing it. When ready to eat the pizza, remove the wraps and place the frozen crust on a parchment-lined baking sheet. Bake it at 350°F for five minutes to defrost it, then top it and bake to melt the cheese.
Heather says
I should have used a 1/2 teaspoon of salt. I had kosher salt and used 1 teaspoon of salt which was too much. But this was a tasty crust and I will definitely try this again with 1/2 the salt.
Kevin says
My crust came out just a bit harder than a thin crust pizza, but it was enjoyable. Added my toppings, with not too much pizza sauce. The crust had a texture and taste I dont think I've experienced before. It was different, but I liked it. I split the dough into two pieces and baked the half I didn't use for the pizza a few days after. Used it as a cracker and it was tasty. I'm going to make this again, experimenting with different seasonings and different temperatures and cook times to see what happens to the crust. Thanks for this recipe!
Vered DeLeeuw says
You're very welcome, Kevin! Thank you for the detailed, thoughtful comment.
Julie J says
It was very easy to make, had a good texture but I found it was too salty. Will make it again with about 1/4 of the salt and should be perfect
Vered DeLeeuw says
I'm glad you liked this pizza, Julie! Thanks for the review and feedback.
If using any salt other than Diamond Crystal, even another brand of kosher salt, I recommend using just 1/2 teaspoon.
Brandon says
Just finished making this for the first time and it was decent. Wasn’t nearly as crispy as I had expected though I believe that can be rectified by just rolling out the crust to a larger diameter. I only used 4oz of cheese and it is still too much cheese for me. I tried layering the pepperoni on the crust first, then sauce and olives and finally the cheese. I didn’t account for the oils in the pepperoni that would seep out when cooking, maybe another reason it didn’t crisp up as much as I had hoped. It didn’t fall apart though and it tasted like your average cafeteria pizza. Incredibly simple and quick to make, definitely worth playing around with again. Thanks
Vered DeLeeuw says
Thank you for sharing your experience, Brandon!
Peg says
Lovely recipe, thank you!! I've had great success enjoying leftovers the next day by frying them up on medium just to crisp them up, sometimes placing a lid over to melt the cheese again. yummmmmeeeee!!!!
Vered DeLeeuw says
Hi Peg,
I'm so glad you like this recipe!
Thank you so much for sharing your tip on crisping up the leftovers. I'll incorporate it into the recipe next time I update it.
Hope B. says
Question - has anyone tried freezing THEN baking the pizza? I like to keep a few frozen healthy(ish) pizzas in the freezer for nights when I'm exhausted. We probably eat one every other week with a spinach salad (yum!). I'd love to try freezing and then baking one. Suggestions? Thoughts?
Vered DeLeeuw says
Hi Hope,
I haven't tried freezing this pizza. If you'd like to experiment, I suggest baking the crust, cooling it completely, and then wrapping it in cling wrap and foil and freezing it. When ready to eat the pizza, remove the wraps and place the frozen crust on a parchment-lined baking sheet. Bake it at 350°F for five minutes to defrost it, then top it and bake to melt the cheese.
Cheryl Laws says
If you put the cheese on the crust first, then sauce and toppings, the crust doesn't get soggy.
Vered DeLeeuw says
Thanks for the tip, Cheryl!